How to Stream CS2 in 2026: 5-Step Guide for Beginners
Streaming Counter-Strike 2 looks simple on a thumbnail. The reality is, there are so many settings you should care about that get one wrong, your streaming may let others down.
How to stream CS2 successfully and smoothly? From the software setting to the gear choice, we’ll take you through a detailed guide. Here, you’ll learn the setup pro CS2 streamers actually use, with extra time spent on the part that newcomers underestimate most: audio.
Step One: What Do You Need Before Streaming CS2
Before touching a single setting, you should prepare your gear well, whether the equipment or your software.
PC hardware
| Component | Minimum (720p / 30 FPS stream) | Recommended (1080p / 60 FPS stream) |
|---|---|---|
| CPU | Intel i5-10400 / Ryzen 5 3600 | Intel i7-12700K / Ryzen 7 5800X or better |
| GPU | GTX 1660 / RX 5600 | RTX 3060 / RX 6700 XT or better |
| RAM | 16 GB | 32 GB |
| Storage | SSD (any size, but SSD is essential) | NVMe SSD |
| Upload speed | 6 Mbps | 10 Mbps (1080p) / 30 Mbps (4K) |
CPU matters more than GPU for streaming because game capture, encoding, and CS2 itself all compete for cores. Upload speed is the silent killer. A beautiful 1080p60 stream is worthless if your bitrate fluctuates and viewers spend half the round buffering. Run a test on Speedtest.net before anything else.
Accounts you’ll need
Pick one streaming platform and commit.
- Twitch has the largest CS2 audience but the heaviest competition.
- YouTube Gaming rewards searchable content like nade tutorials and highlight breakdowns.
- Kick takes a smaller revenue cut but runs a smaller pool of viewers. Spreading yourself across all three on day one is a fast route to burnout.
You’ll also want a Steam account with privacy settings tightened (game details, friends list, profile) and, optionally, a Discord server for the community. Discord can wait until you have an audience worth gathering.
Hardware beyond the PC
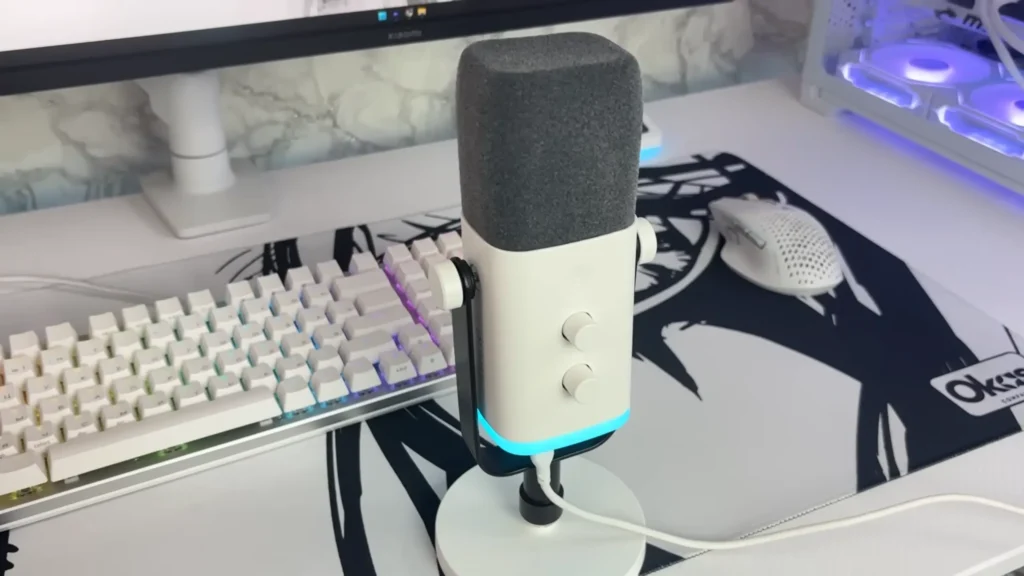
- The best microphone for streaming. Your audio quality matters more in your streaming. The right mic would save your voice.
- A webcam is optional but measurably boosts engagement on Twitch.
- Decent closed-back headphones for monitoring so you can hear what your viewers hear.
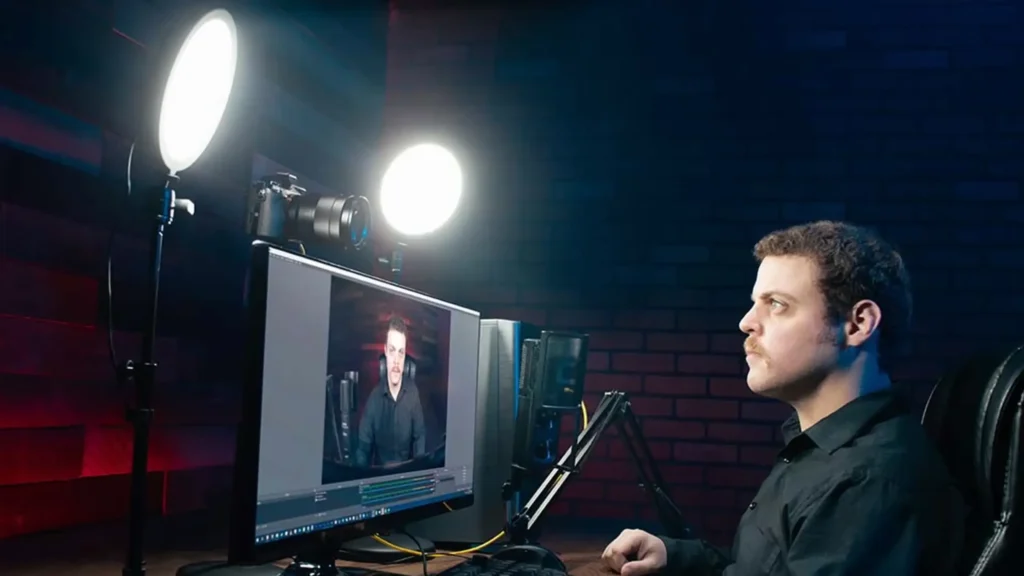
- Lighting for your streaming matters only if you use a face cam, and a single key light beats nothing every time.
Step Two: Configure CS2 for Streaming
This is the part most generic streaming guides skip. CS2 has quirks that break OBS straight out of the box.
Add the launch option (required for OBS Game Capture)
- In Steam, right-click Counter-Strike 2 → Properties.
- Under General → Launch Options, type: -allow_third_party_software
- Save and launch CS2. Game Capture in OBS will now hook the game properly.
Trust Factor warning: Adding this launch option disables Trusted Mode. You won’t get banned, but consistent use can lower your Trust Factor over time, leading to longer queues and lower-quality matchmaking. The smart move: only enable it during streaming sessions, then remove it for ranked grinds.
The Display Capture workaround
If you’d rather protect your Trust Factor, skip the launch option entirely and use Display Capture in OBS instead of Game Capture. Run CS2 in Fullscreen Windowed mode so OBS can read the screen. But it will lead to a small amount of input lag, which is less ideal for ranked play.
Enable Streamer Mode in CS2
CS2 ships with built-in protections you should turn on the second you go live:
- Hide enemy avatars and player names so stream snipers can’t reverse-search.
- Mute enemy chat to prevent harassment leaking onto the stream.
- Set your Steam profile and game details to private.
Set a stream delay against snipers
Add a 30-60 second delay in your streaming software. Yes, your viewers see a slightly older feed. That’s worth it to avoid getting griefed by people watching your stream and timing their pushes.
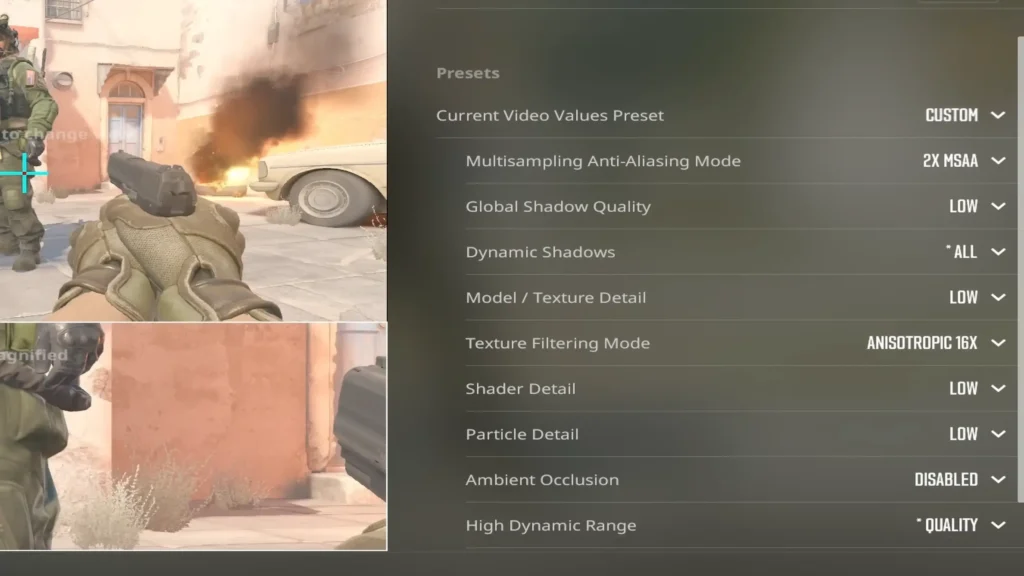
Optimize CS2 in-game settings for streaming
Three things only here — full graphics tuning isn’t the focus of this guide.
- Cap FPS to a stable number your CPU can sustain (e.g., 240). Wild FPS swings cause stream stutters more than low absolute frame rates do.
- Use Fullscreen Windowed if you’ll alt-tab to OBS often during a session.
- Lower shadow detail and particle effects if your CPU is the bottleneck — leave shaders and shadows higher only if your hardware has the headroom.
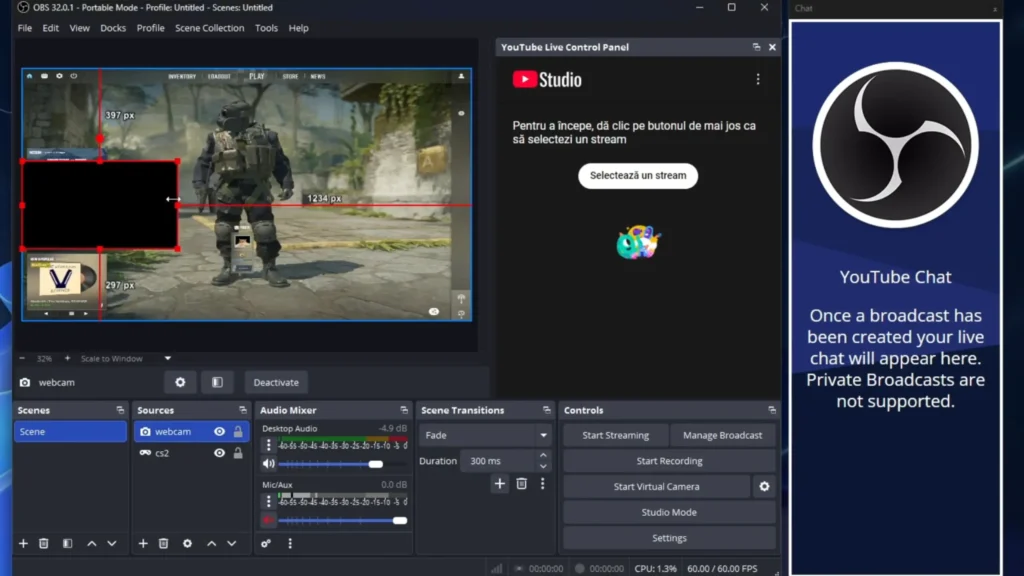
Step 3: Choose Your Streaming Software
After you’ve set your CS2, you can choose your best streaming platform. Three options dominate CS2 streaming, and all three are free to start.
| Software | Best for | Trade-offs |
|---|---|---|
| OBS Studio | Maximum control, low CPU overhead | Steeper learning curve |
| Streamlabs | Quick setup, built-in alerts, and overlays | Heavier on CPU than OBS |
| Twitch Studio | Absolute beginners on Twitch | Limited advanced features, Twitch-only |
For most CS2 streamers, OBS Studio is the right answer. It’s the lightest on system resources, and the configuration is the most flexible in the long term. Streamlabs is friendlier on day one, but harder to live with if your PC is borderline. Twitch Studio is the easiest path to “live in five minutes” if you don’t care about features beyond chat overlay and a webcam.
OBS Encoder Settings for CS2
When it comes to streaming CS2 in OBS, some numbers work for the largest range of setups. Tune in here only if you have a reason to.
- Output resolution: 1920×1080 (or 1280×720 if your upload bandwidth is limited).
- FPS: 60. Non-negotiable for FPS gameplay — 30 FPS makes flicks look stuttery on stream.
- Bitrate: 6,000 Kbps for 1080p60, or 4,500 Kbps for 720p60.
- Encoder: NVENC H.264 if you have an Nvidia GPU, x264 as a CPU fallback.
- Keyframe interval: 2 seconds.
Step 4: Set up Your Mic for A Better Audio
Don’t overlook the right microphone. The consistent crackly, bass-less mic over a clutch round is not forgivable.
Why CS2 streamers need a dedicated mic
Headset mics, the default for most gamers, have three problems on stream:
- They sit close to mechanical keyboards and pick up every keystroke.
- The capsule quality is built for Discord calls, not broadcast.
- The boom position picks up breath, mouth clicks, and pop sounds.
Built-in laptop mics are worse. They sound thin, pick up fan noise, and broadcast every desk tap. Voice clarity is what viewers register as “production quality”, and viewers will forgive mediocre gameplay if you sound clean and engaging on the mic.
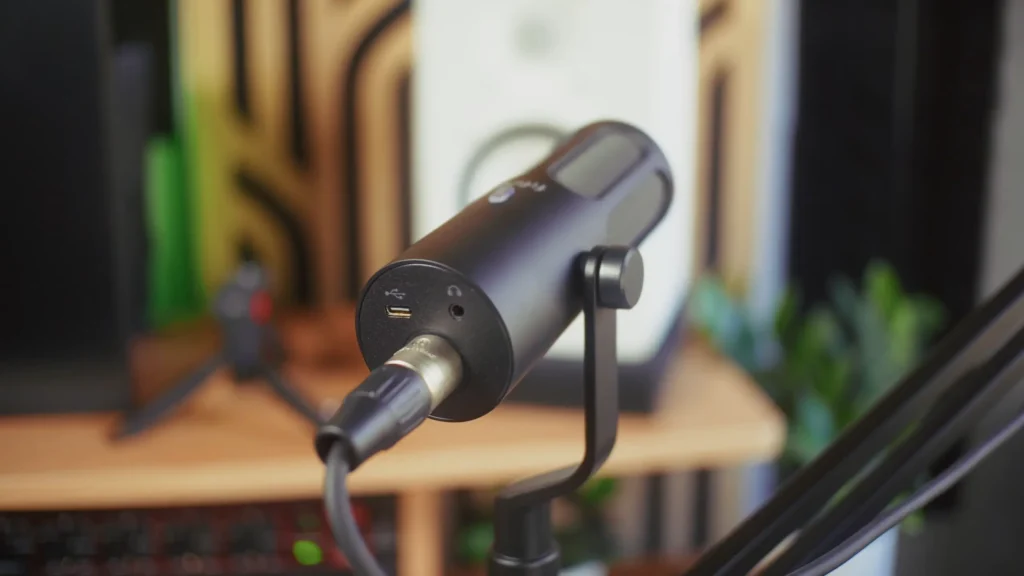
USB vs. XLR mic for CS2 streaming
So, USB vs XLR microphone? USB mic plugs straight into your PC and requires zero additional gear. If you’re first to stream and want one box to solve the problem, USB mics are the right pick.
XLR microphones offer more headroom, cleaner preamps, and longer-term upgrade paths. But you’ll need an audio interface or mixer to use one. The smart choice? A USB/XLR microphone lets you start plug-and-play and switch to XLR later.
FIFINE microphone recommendation
Here, we’ve picked three FIFINE dynamic mics, all dual USB/XLR, each suited to a different streaming scenario.
| Scenario | Best pick | Why it fits |
|---|---|---|
| Loud gaming room with mechanical keyboard, RGB-heavy setup | FIFINE AM8 | Strong noise rejection, bass-forward tone, built-in RGB, ~$55 entry point |
| Streamers who want a clean, broadcast-style voice | FIFINE K688 | Bright high/mid tone, 130 dB max SPL, pro look for face cams |
| Versatility — voice, occasional VO, podcast crossover | FIFINE Tank3 | Most neutral tone, compact all-metal build, fits most boom arms |
For loud gaming rooms — FIFINE AmpliGame AM8. Its dynamic capsule rejects most ambient noise, the bass-forward tone gives commentary punch, and the built-in RGB sits at home in a gaming setup. With an entry-level price, AM8 is the easiest first mic to justify.
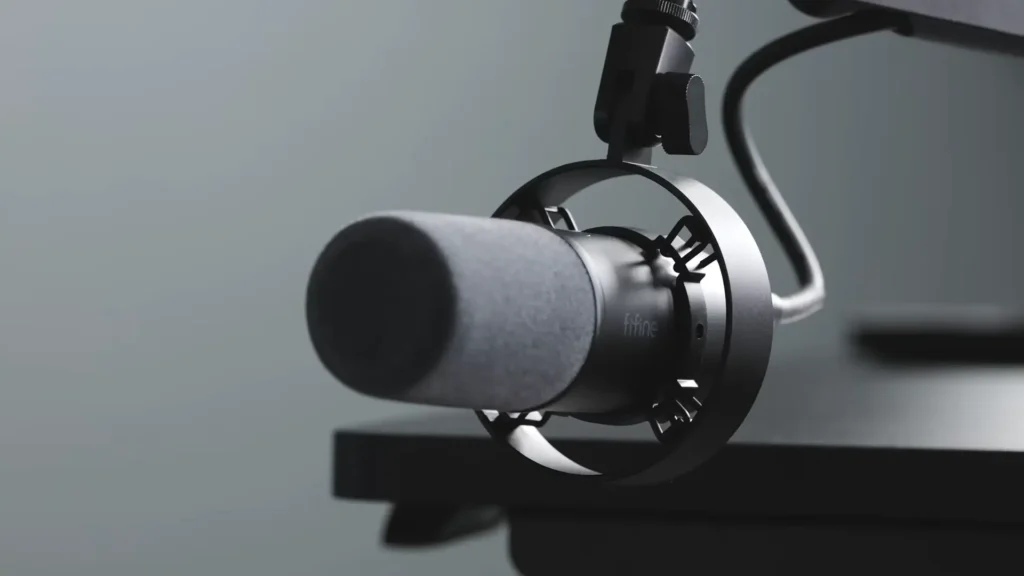
For broadcast-style voice — FIFINE AmpliTank K688. If your stream leans toward commentary, coaching, or face-cam content, the AmpliTank K688 delivers a brighter high/mid tone that reads as “broadcast” rather than “gamer.” The 130 dB max SPL handles loud reactions, laughter, or sudden frag yells without distorting. The all-metal body looks deliberate on a boom arm in front of a camera.
For versatility — FIFINE AmpliTank Tank3. If you want one mic to handle CS2 sessions, the occasional voice-over gig, or a podcast spinoff with friends, go for the Tank3. Its neutral tone works across a wider range of voices without needing aggressive EQ. Like the K688, the all-metal build is low-key yet stylish.

The Best Mic Setting in OBS
With the best mic setting in OBS, your mic will deliver a clearer and more natural sound.
- Sample rate: 48 kHz (matches the video standard).
- Bit depth: 24-bit (gives you editing room if you VOD highlights).
- Noise gate filter: Apply one to cut keyboard clicks between voice lines.
- Compressor: apply one to even out loud reactions against quiet commentary so viewers aren’t reaching for the volume knob every round.
Pro Tips: Take care of the microphone placement. Keep the capsule four to six inches from your mouth, slightly off-axis to avoid plosives, and pointed away from your keyboard. Plus, a good boom arm can help to reduce the deck noise, as desk-stand mics pick up every key press through the surface.
Step 5: Going live and growing your audience
Pre-stream checklist
- Test mic levels — speak normally and aim for peaks around -12 to -6 dB.
- Record a 1-minute test stream privately and watch it back. You’ll catch mic peaking, scene order issues, or wrong audio sources before viewers do.
- Confirm Streamer Mode is active in CS2.
- Set your stream title with a clear topic — rank grind, nade lineups, FPL coaching. “Just chilling” doesn’t pull clicks.
- Use Counter-Strike 2 as the game category, not CS:GO. The old category still exists and gets ignored by the algorithm.
Growth tips for new CS2 streamers
Stream consistently. Same days, same times beat sporadic 8-hour marathons every time. Lean into a niche: nade tutorials, low-rank coaching, anti-eco strats. “Just playing” is the hardest pitch on a platform full of better mechanical players.
Also, clip your best moments and post to TikTok or YouTube Shorts. The discovery flywheel for new streamers runs through short-form video, not the live tab. Don’t forget the engagement, whether to engage with your viewers or other streamers. Your interaction can let more people see you.
So, Hit and Go Live Tonight
The point of how to stream CS2 isn’t about perfection at first. It’s a setup that lets you focus on the game instead of fighting OBS every five minutes. Get your audio balanced, lock in your encoder settings, and play CS2 the way you actually want to.
After a few sessions, you’ll know which dial to turn. The rest are reps. Ready to sound as sharp as you play? Start your game and streaming now!
FAQ
Do I really need an Nvidia GPU to stream CS2?
No, but it makes life easier. NVENC offloads the encoding work from your CPU, which is already maxed running CS2. AMD users can stream using AMF or x264 software encoding, but expect to drop more frames in busy scenes. An Nvidia card simplifies the math for a streaming build.
What’s the minimum upload speed I need to stream CS2?
6 Mbps is the floor for stable 1080p60. Run a speed test on Speedtest.net before you start. Bandwidth is usually the silent killer of new streams, and it’s the one thing you can’t fix in software.
Should I stream at 4:3 or 16:9?
The 4:3 stretched crowd buys a few extra frames and bigger-feeling hitboxes. The 16:9 crowd gets more horizontal info and a natural mouse feel. Both are fine.
What’s the best mic for CS2 streaming?
For most home setups, a dynamic mic on a desk arm beats a condenser. Dynamics ignore mechanical keyboard noise, fans, and room echo. If you already own a condenser, a tighter pickup pattern and a pop filter will get you most of the way there.
Why is OBS showing a black screen when I capture CS2?
CS2’s Trusted Mode blocks third-party hooks by default. Add -allow_third_party_software to your Steam launch options, or switch OBS to Display Capture mode if you want to keep Trusted Mode active.