
XLR Cable for Microphones: How It Works and Why It Matters

If you’ve ever plugged a microphone into a mixer or an audio interface, you’ve held an XLR cable without giving it much thought. The right XLR cable for your microphone keeps your audio clean, blocks the hum and buzz that wrecks a take, and even carries the power some mics need to work at all. But do you really need an XLR cable or an XLR microphone? This guide breaks down what an XLR cable is, how it works, and how to choose one that earns its place in your setup.
What Is an XLR Cable?
An XLR cable is the standard analog audio cable used in professional recording and live sound. Most XLR cables you’ll use with a microphone feature a three-pin connector — one pin for ground and two for the audio signal.
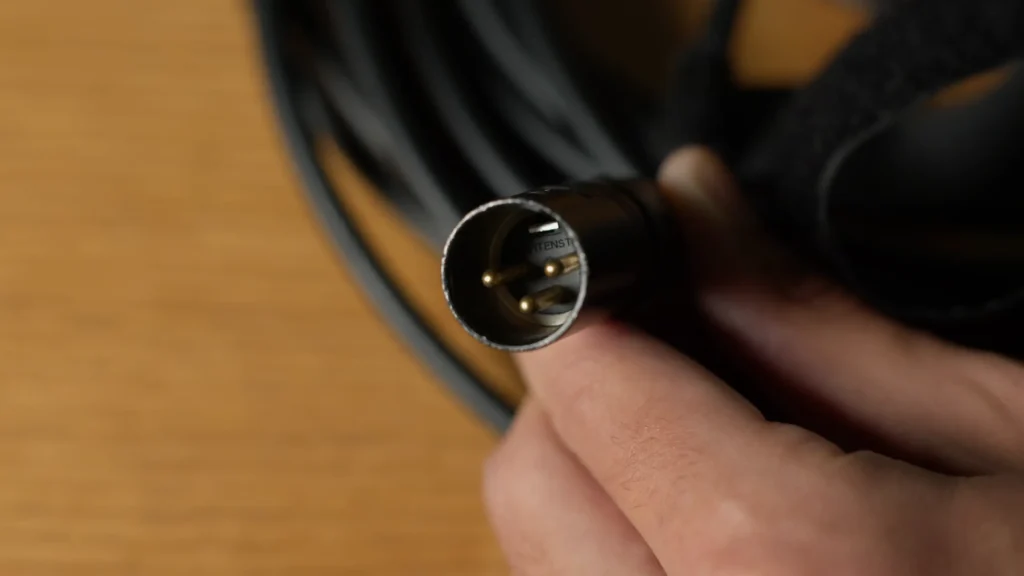
An XLR cable is actually a whole family of connectors. On a film set, you might also run into four-pin XLR for power delivery and five-pin XLR for DMX lighting control. For audio, the three-pin is the one you want.
You’ll find XLR connections on microphones, mixers, audio interfaces, and most other pro audio equipment. It’s the common language that lets all that gear talk to each other. Although some equipment has little difference with XLR cables, like XLR microphones vs USB microphones, or audio mixers vs audio interfaces, XLR cables actually work differently.
Fun Fact: “XLR” started life as a Cannon model number. According to the Audio Engineering Society, it’s a registered trademark dating back to 1958. Cannon’s original three-pin connector had no latch, so the company rearranged the pins and added one, and the XLX series was born. Later, they set the contacts in a resilient rubber mount and landed on the name we still use today: XLR.
How Does an XLR Cable Work?
When you speak into the microphone, the XLR cable works. The full signal path looks like this:
Voice → XLR Microphone → XLR Cable → Audio Interface / Mixer → Computer
Here’s each step:
- Voice. You speak, sing, or play. Sound waves leave your mouth or instrument and head for the mic.
- XLR microphone. The mic’s diaphragm vibrates and turns those sound waves into a small electrical signal.
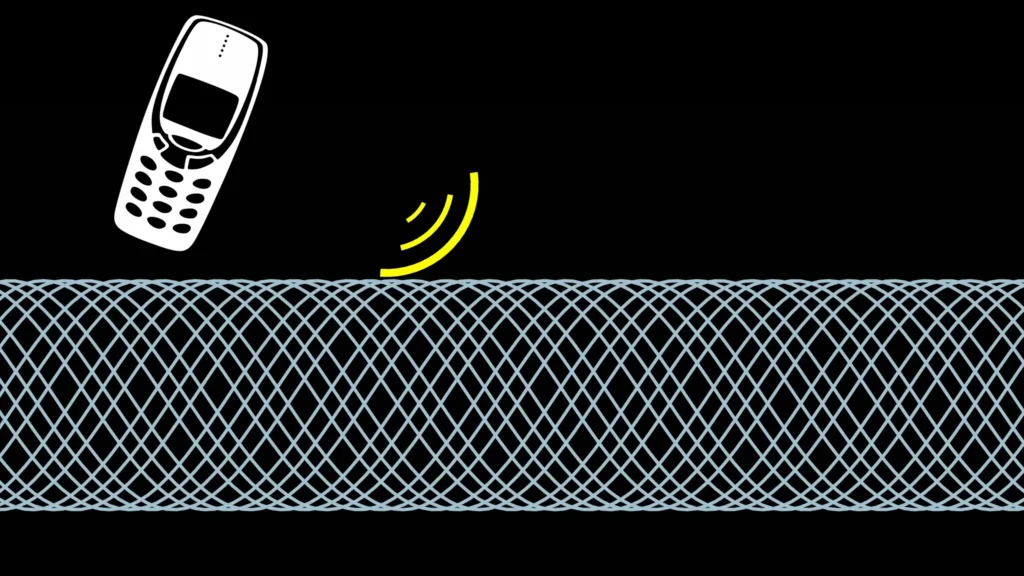
- XLR cable. This is where the magic happens. The cable carries the signal across three pins. Pin 1 connects to the shield — a braided sheath wrapped around the inner wires, blocking interference from phones, Wi-Fi, and other wireless sources. Pins 2 and 3 carry a twisted pair of wires: pin 2 carries the audio signal, and pin 3 carries an inverted copy of it.
- Audio interface/mixer. When the signal arrives, the gear flips that inverted copy back over and adds the two together. Your original audio gets stronger, and any noise the cable picked up gets canceled out — because flipping the inverted side also flips the noise into the opposite of itself. Plus and minus cancel to zero. That’s the heart of a solid XLR microphone connection.
- Computer. The interface or mixer converts your clean analog signal into digital audio that your recording software can use.
It seems long, but the whole trip happens at the speed of electricity. You speak, and it’s there.
Why Do Microphones Use XLR Cables?
Microphones and XLR cables are a natural pair, and it comes down to two things: a reliable signal and a clean one.
Reliable analog signal transmission. Here’s what happens when you talk into a mic. Sound waves hit a diaphragm inside the microphone and get converted into a small electrical signal — your voice, now in electrical form. The XLR cable’s job is to carry that signal faithfully from the mic to your interface or mixer, with nothing added and nothing lost.
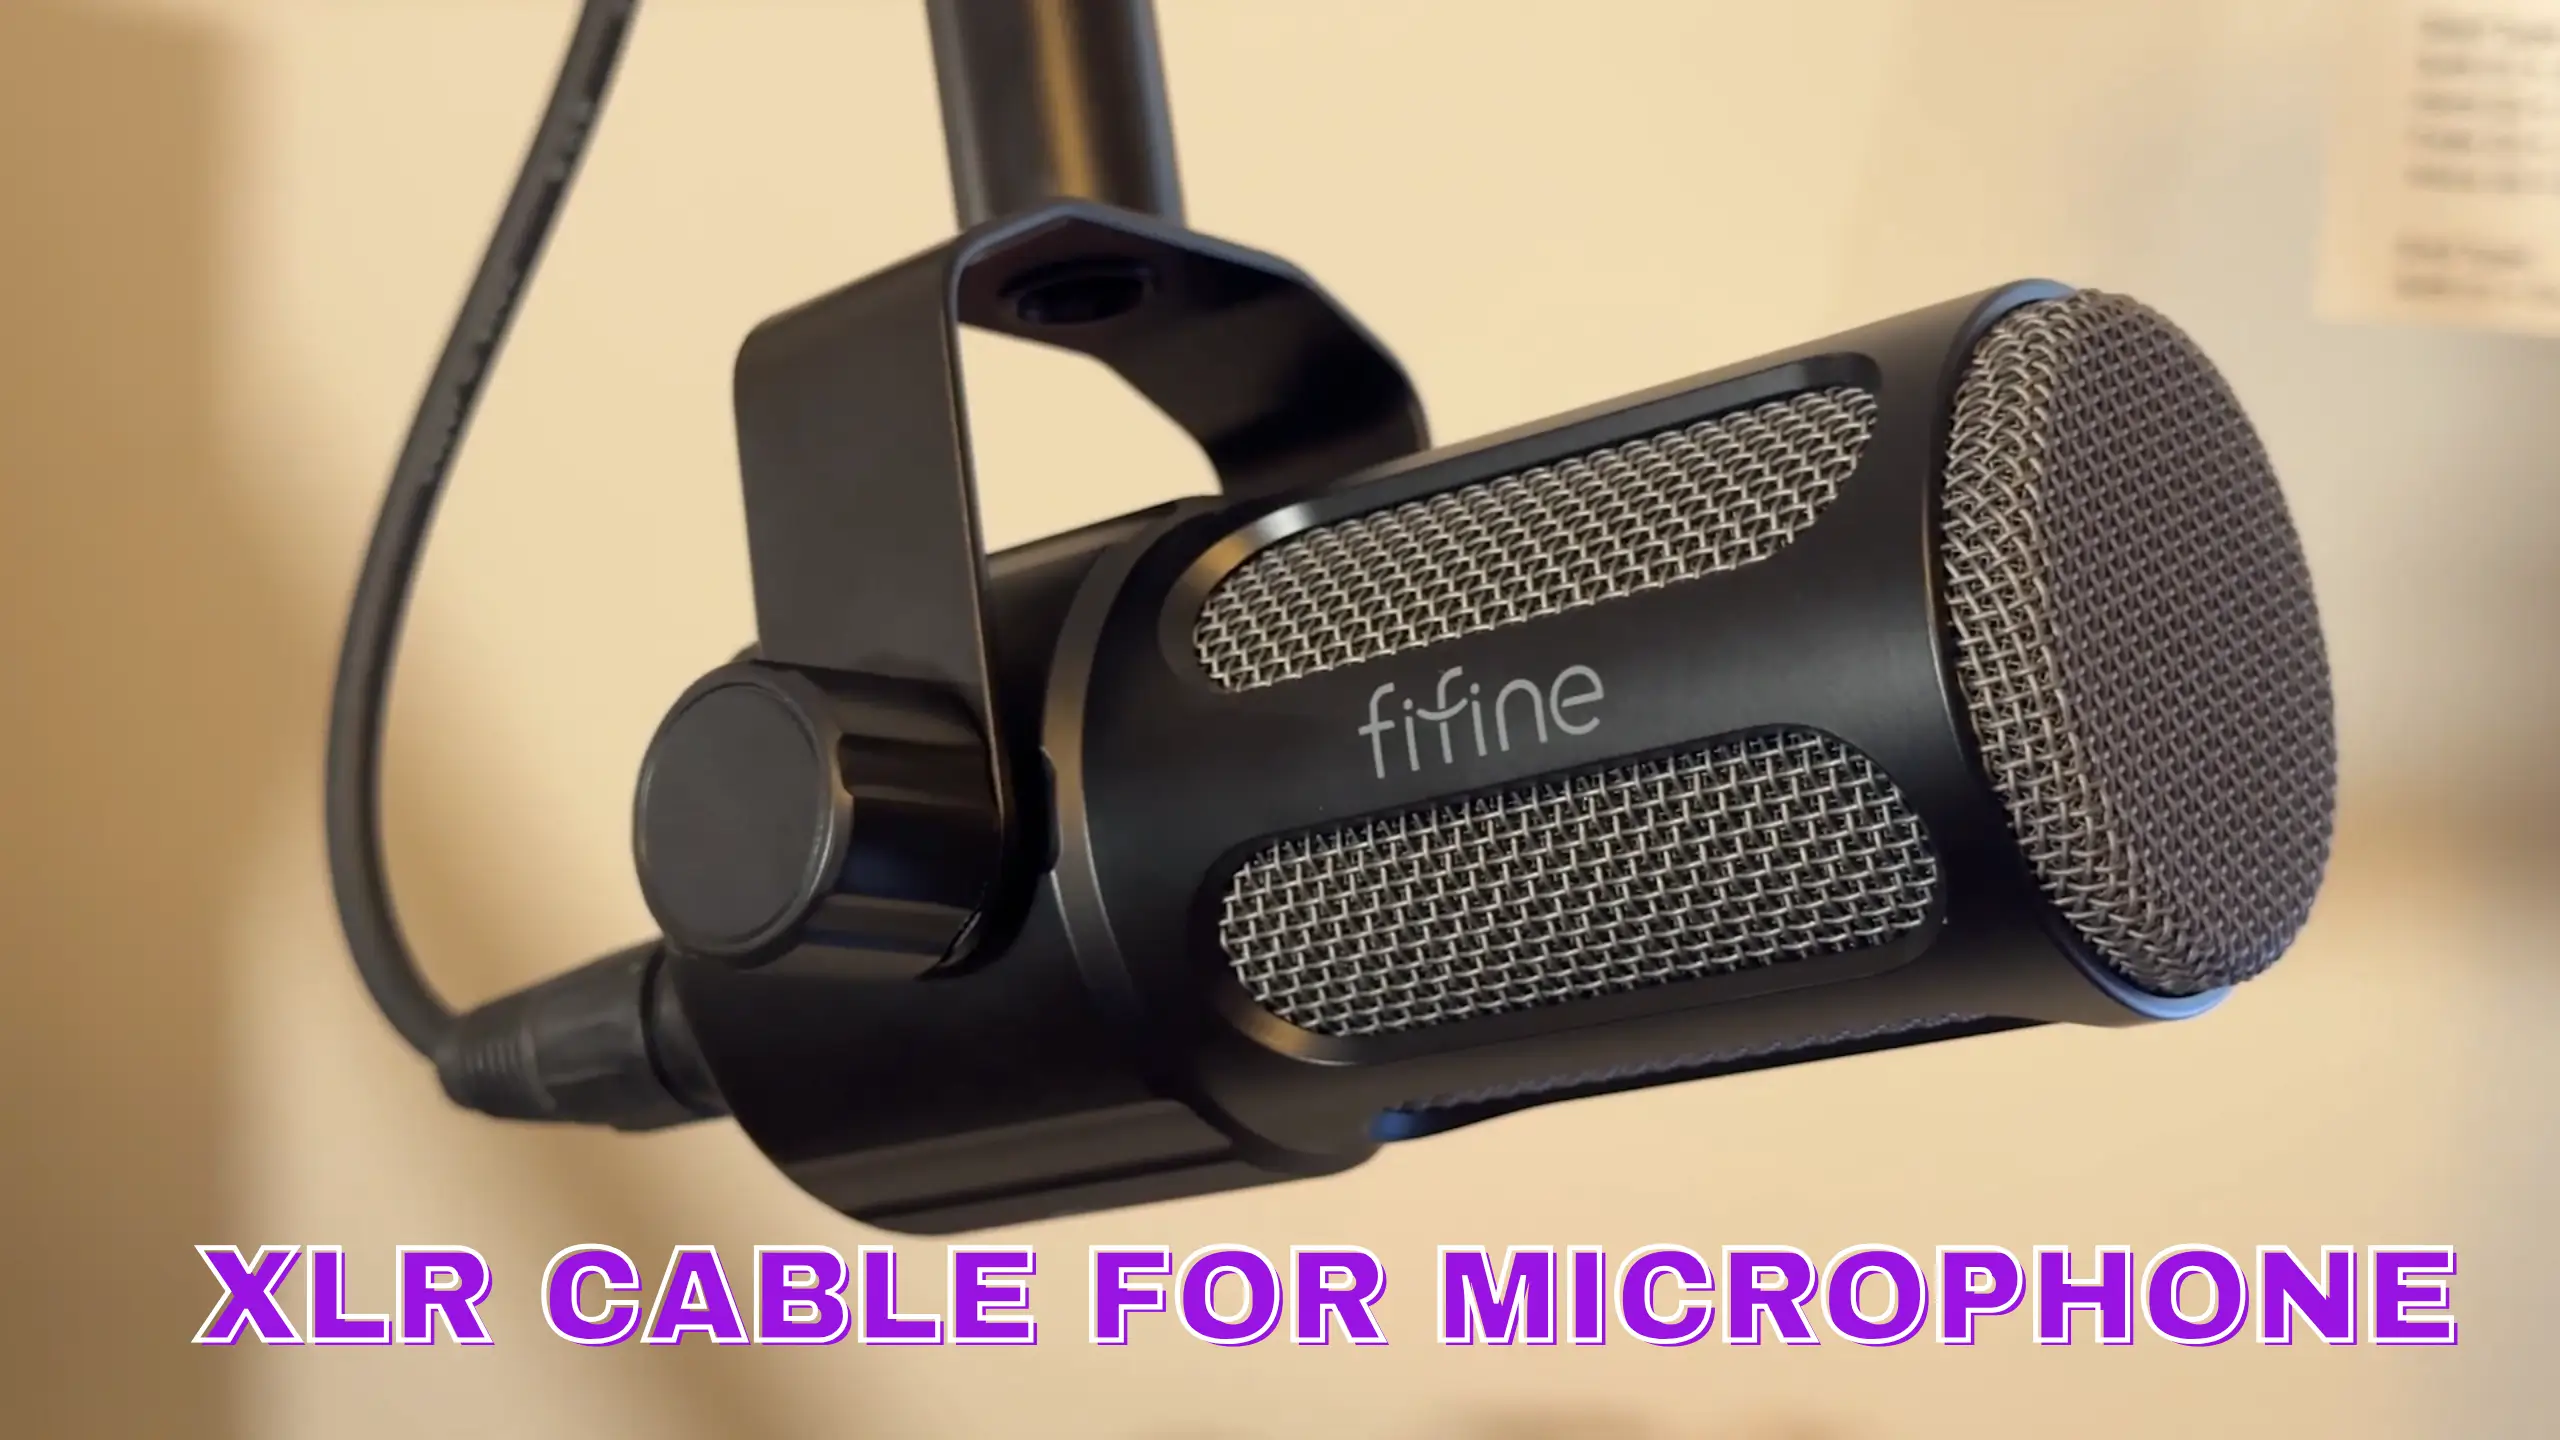
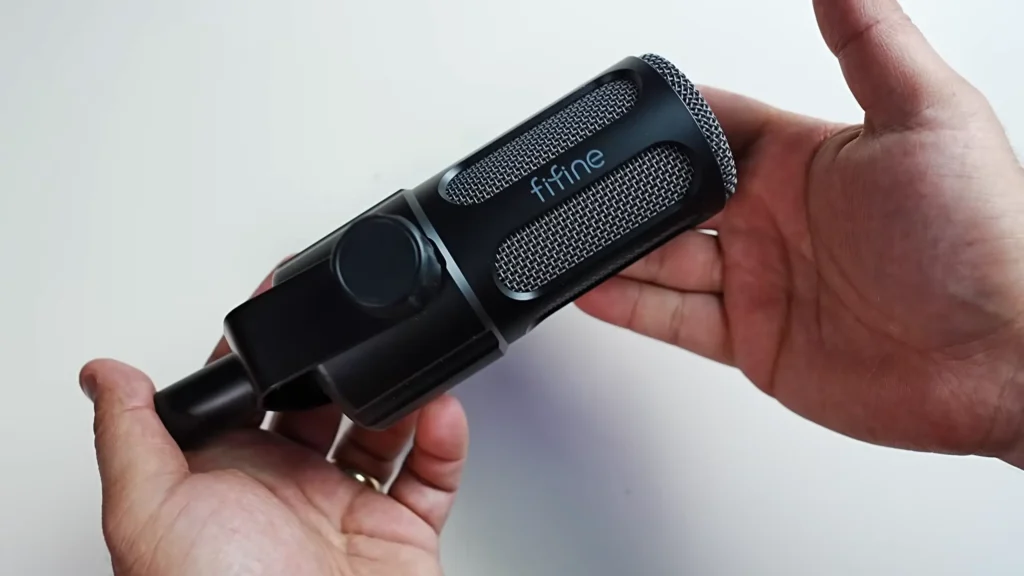
This is why many professional dynamic microphones, including the fifine Tank1 XLR microphone, rely on an XLR connection. The cable preserves the microphone’s output so the rest of your audio chain can capture your voice as accurately as possible.
Balanced audio transmission. This is the real reason XLR rules pro audio. Audio travels as electricity, and electricity is sensitive to interference. Park a power cable or a cell phone next to an ordinary cable, and you can introduce hum, buzz, and other noise you never asked for.
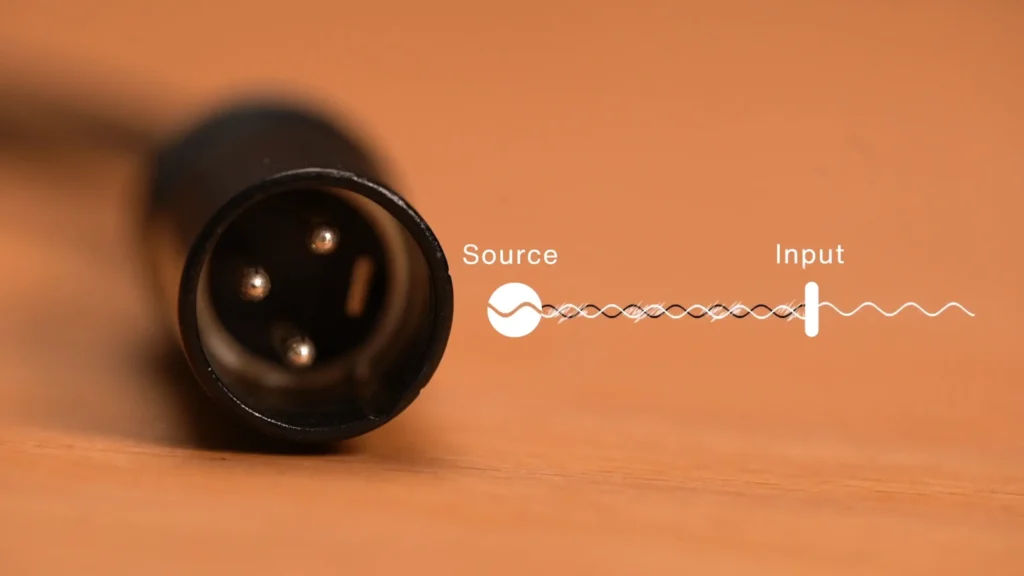
A balanced XLR cable is built to fight that. It sends two copies of your audio down two separate wires, then uses a clever trick at the far end to cancel out any noise that slipped in along the way. That’s why you can run a fifine Tank1 XLR microphone cable across a room — or across a stage — and still get a clean signal.
Can an XLR Cable Supply Phantom Power?
Yes — and for some microphones, this is the whole ballgame.
Phantom power is electrical power, usually 48 volts (48V), that travels up the XLR cable from your audio interface or mixer to your mic. The same cable carries your audio down and the power up at the same time, without the two stepping on each other.
Dynamic microphones generate their signal differently and don’t need phantom power to work. But condenser microphones with active electronics need phantom power to run. Without 48V phantom power, a condenser won’t produce a signal. So when you plug one in, you flip the phantom power switch — often labeled “48V” or “+48V” — and the XLR cable delivers it.
The good news: a balanced XLR cable works either way. Whether you’re running a power-hungry condenser or a no-frills dynamic, the same cable handles the job. You don’t need a special “phantom power” cable — it’s built into how XLR works.
Do XLR Cables Affect Microphone Sound Quality?
This is where a lot of misunderstandings start.
What an XLR cable won’t do:
- Make your mic sound better — a $100 cable and a $15 cable carry the same audio.
- Lower your noise floor. Some tests find no meaningful difference in sound quality or noise between cheap and expensive cables — a gap below what the human ear can detect.
- Live up to “richer, warmer, more detailed” marketing. Some of those claims are a scam.
What an XLR cable will do:
- Reduce interference — it rejects the electromagnetic and radio noise that creeps into ordinary cables.
- Maintain signal integrity — the two inverted copies recombine at your interface to cancel any noise picked up along the way
- Support longer cable runs — because it’s balanced, an XLR cable holds a clean signal over 100 to 200 feet.
The flip side: a cheap, poorly shielded cable does the opposite. Run one behind your desk next to the AC power adapters, and you’ll get hum. Sometimes the buzz isn’t the cable at all. Some mics aren’t shielded against radio frequency interference, so a nearby wireless transmitter can add noise, no matter what cable you use.
XLR Cable vs USB Cable for Microphone
If you’re shopping for a microphone, you’ve probably noticed that some connect over XLR and others over USB. Here’s a quick side-by-side on how the two cables compare.
| Feature | XLR Cable | USB Cable |
|---|---|---|
| Signal Type | Analog, balanced | Digital |
| Requires Interface | Yes | No |
| Phantom Power Support | Yes | No (handled internally) |
| Cable Length | Longer | Shorter recommended |
| Upgrade Flexibility | High | Limited |
USB is plug-and-play and great for getting started. XLR asks a little more of you up front, since you’ll need an interface or mixer, but it gives you room to grow. You can swap mics, add channels, run longer cables, and build a setup that scales with you.
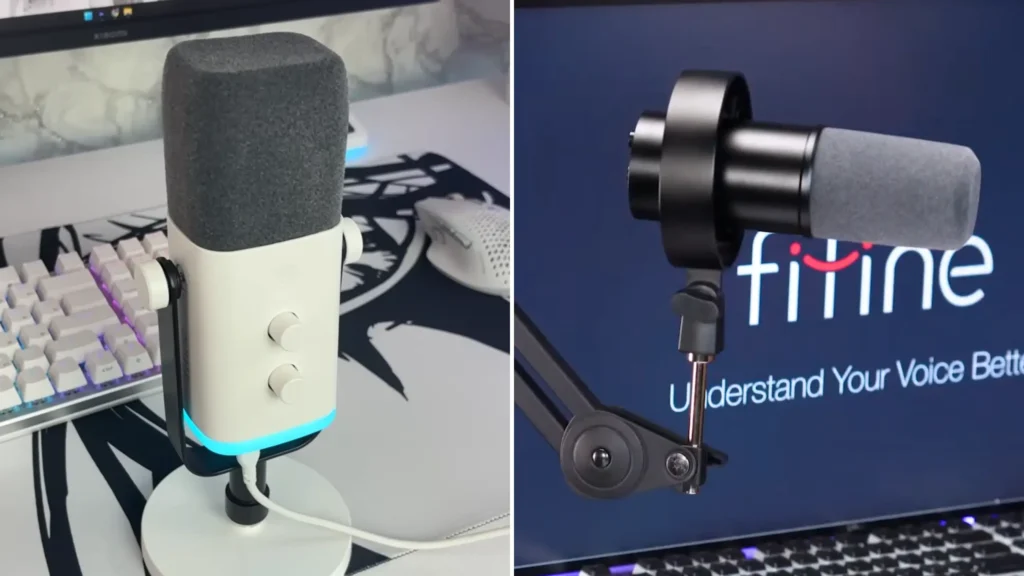
A sweet spot: go for a dual input microphone like FIFINE AM8 and FIFINE K688 USB & XLR microphone. Start with the simple USB input and upgrade to the XLR input if you want more clear signal and a more professional experience. One microphone, dual input, triple wins.
How to Choose the Right XLR Cable for Your Microphone
A good XLR cable is simply one that fits your purpose. Keep these four things in mind, and you’ll get it right.
1. Cable Length
For recording at home, more than 3 meters (10 feet) is enough.
Range is one of XLR’s strengths — a balanced cable can run 100 to 200 feet without losing signal, which is exactly why it’s the standard on stages and film sets.
2. Build Quality
The priciest doesn’t mean the best. Brands like Canare and Mogami are well-shielded and dependable. And many brands provide XLR cables, like fifine L9, when you’re purchasing the fifine XLR microphones, fifine mixers, or fifine audio interfaces.
3. Connector Compatibility
The connectors matter as much as the cable itself. The connectors are often where a cable fails. Cheap no-name connectors are notorious for jamming in recorders, preamps, and camera ports, and yanking one free can damage expensive equipment.
4. Shielding
The shield blocks electromagnetic and radio interference from reaching your signal, so better shielding means a cleaner recording — especially if your cable has to run near power cables or other electronics.
If you do have to cross a power cable, cross it at a 90-degree angle instead of running alongside it, and never bundle audio and power cables together.
Is It Worth It?
An XLR cable for your microphone isn’t glamorous, but it’s the backbone of a clean recording. It carries your audio in balanced form to shrug off interference, feeds condenser mics the phantom power they need, and gives you the flexibility to grow your setup over time.
But the XLR cable isn’t where the sound lives. Pick a well-built and well-shielded, treat your connectors carefully, and keep your cables clear of power lines. Your gear will sound exactly as good as it’s meant to.
FAQs
Does a more expensive XLR cable sound better?
No. There’s no audible difference in sound quality between cheap and expensive cables. What makes them different is the shielding and build quality. It protects your signal from interference, but it won’t change the sound your mic produces.
Do I need phantom power for every microphone?
No. Condenser microphones need 48V phantom power to work, and your interface or mixer sends it up the XLR cable. Dynamic microphones don’t need phantom power at all. Either way, the same balanced XLR cable works fine.
How long can an XLR cable be?
Because it’s balanced, an XLR cable can run 100 to 200 feet without meaningful signal loss — far longer than an unbalanced cable. For home recording, though, 3 meters is usually plenty.
Why am I getting buzzing or hum through my XLR cable?
Most often, it’s a cheap or poorly shielded cable running too close to AC power adapters or other electronics. Move the cable away from power sources, cross any power cables at a 90-degree angle, and try a better-shielded cable. If the noise sticks around, check whether the microphone itself is picking up radio interference.
