
What Is Microphone Distortion? Causes, Types, and Solutions

You hit record, get into your flow, raise your voice for emphasis — and the audio shatters into a crunchy, harsh mess. Frustrating, right? Actually, microphone distortion is almost always a setup problem, not a hardware one. In this guide, we’ll cover what microphone distortion is, what causes it, and how to fix it for good.
What Is Microphone Distortion?
Microphone distortion is that scratchy, nasty sound that creeps into a recording and wrecks it. Your voice turns crunchy and harsh, and clean audio suddenly sounds broken.
Most people blame the mic. They assume they bought something cheap or that the hardware failed. In reality, the mic is rarely the problem. Distortion shows up when an audio signal gets pushed past what a part of your setup can handle, and the damage gets baked into your recording.
You’ll hear it described in a few different ways:
- Crackling
- Harsh audio
- Clipping
- Fuzzy sound
- Robotic artifacts
They all point to the same thing: a signal that’s overloaded somewhere between your mouth and your recording software.
What Does Distorted Audio Sound Like?
Distortion has a signature, and once you learn it, you’ll catch it instantly. Listen for these signs:
- Audio sounds crunchy, like there’s grit layered over your voice.
- Loud words break up. You speak normally, and it’s fine, then you get excited, and the peaks shatter.
- Singing sounds harsh, especially on belted or sustained notes.
- Peaks sound clipped, as if the tops of the loudest sounds got chopped off.
- Voice lacks clarity and sits behind a wall of fuzz.
The loud-words-break-up clue is the big one. If your audio is clean at a normal volume but falls apart the moment you raise your voice, you’re almost certainly clipping.
Three Types of Microphone Distortion
Not all distortion comes from the same place. Here are three types of microphone distortion that you may encounter.
#1: Clipping Distortion
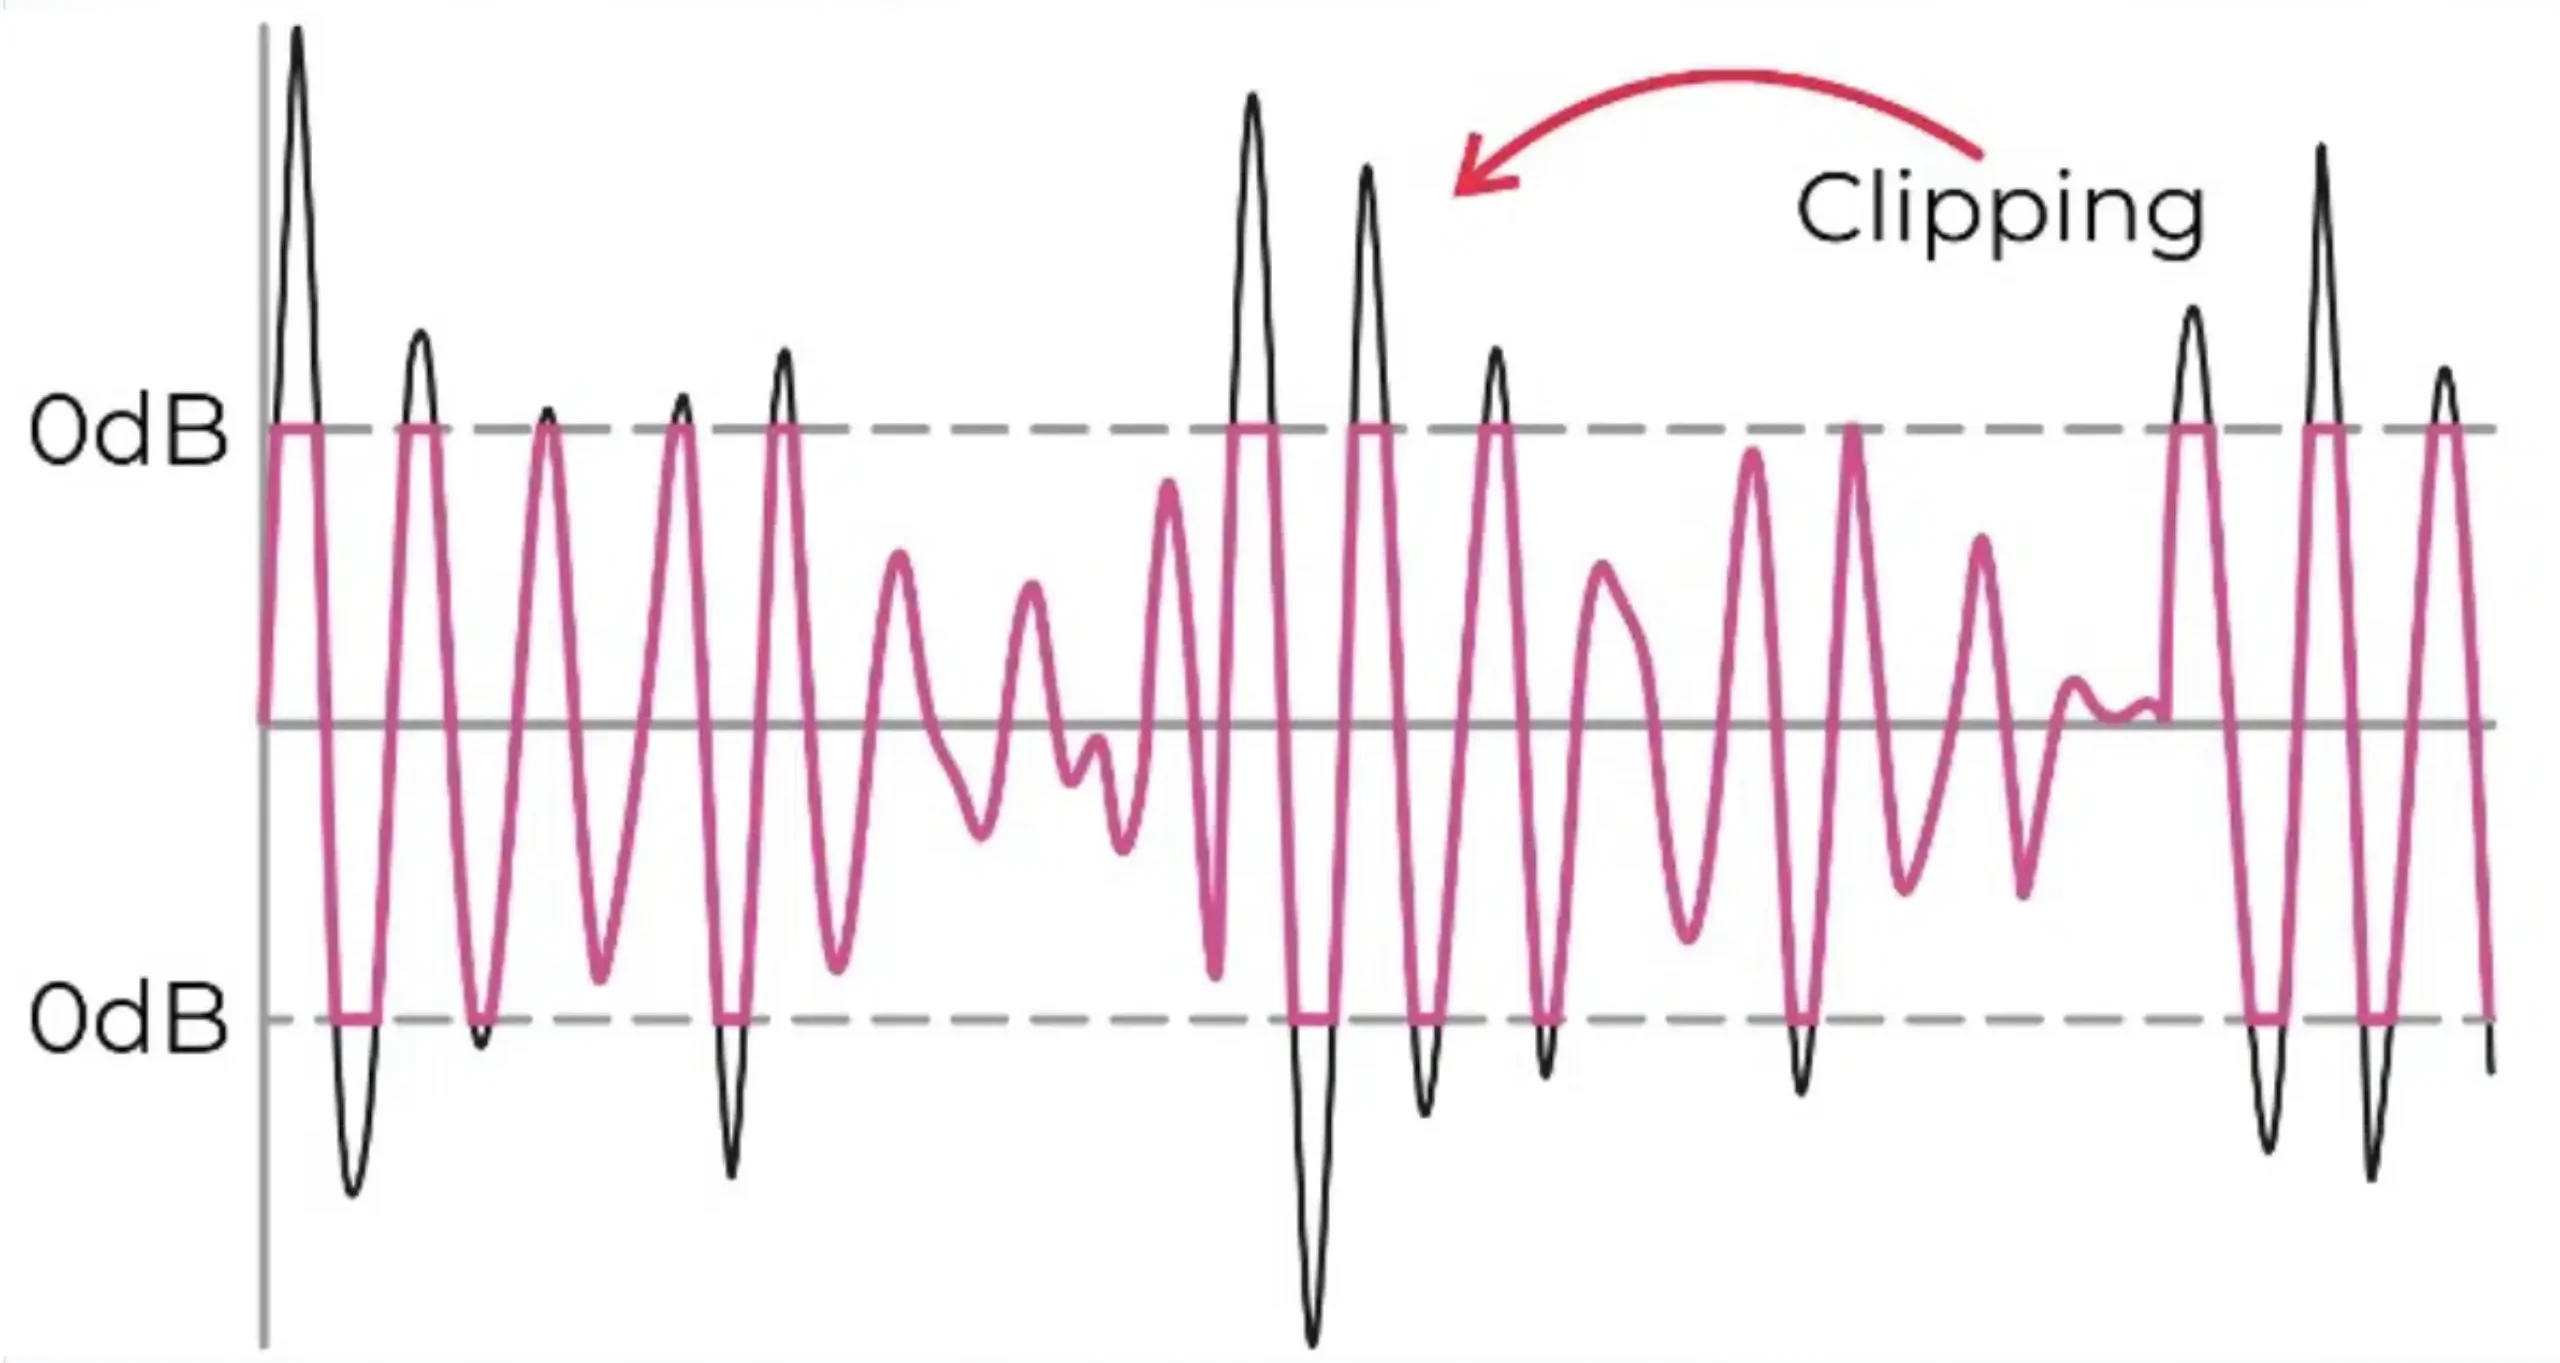
This is the most common type by far. Clipping happens when your gain or level is set too high. When the signal hits 0 dBFS — the ceiling of digital audio — it has nowhere left to go, so the waveform gets squared off, and you hear that harsh break-up. Set your level too hot, get a little loud, and you clip.
#2: Digital Distortion
Digital distortion happens during the conversion and routing of your audio. Whether the gain dial in a FIFINE USB mic or an XLR microphone running through an interface, pushing the physical gain too high clips the analog-to-digital converter. Once that distortion is written to the file, nothing can remove it.
There’s a related trap with USB mics that have no gain dial. The audio essentially gets rendered as it moves from your operating system into your recording software. If it’s already distorted when it makes that trip, the distortion is locked in. That’s why you fix the level before the audio reaches your DAW or streaming app, not after.
#3: Mechanical Distortion
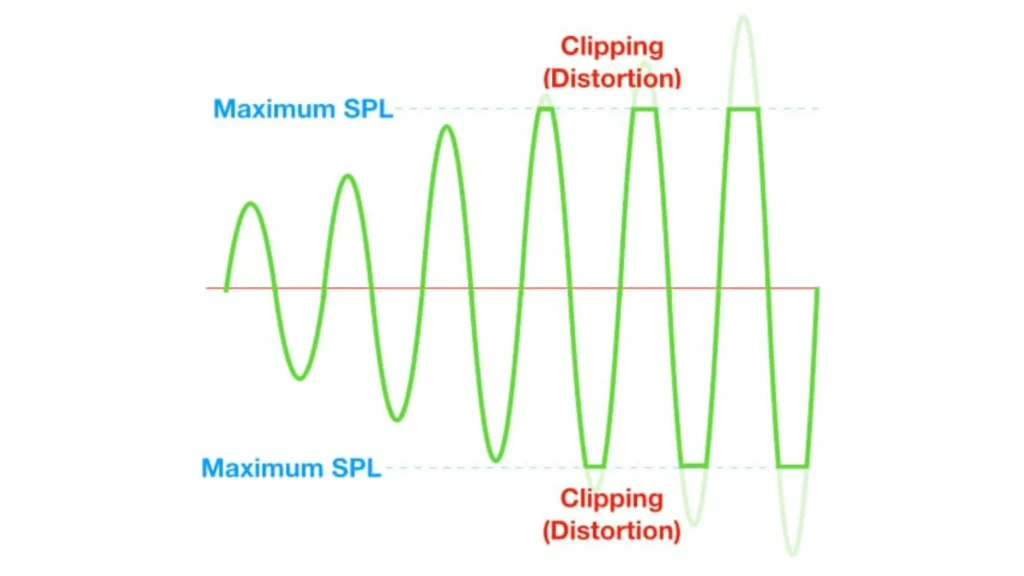
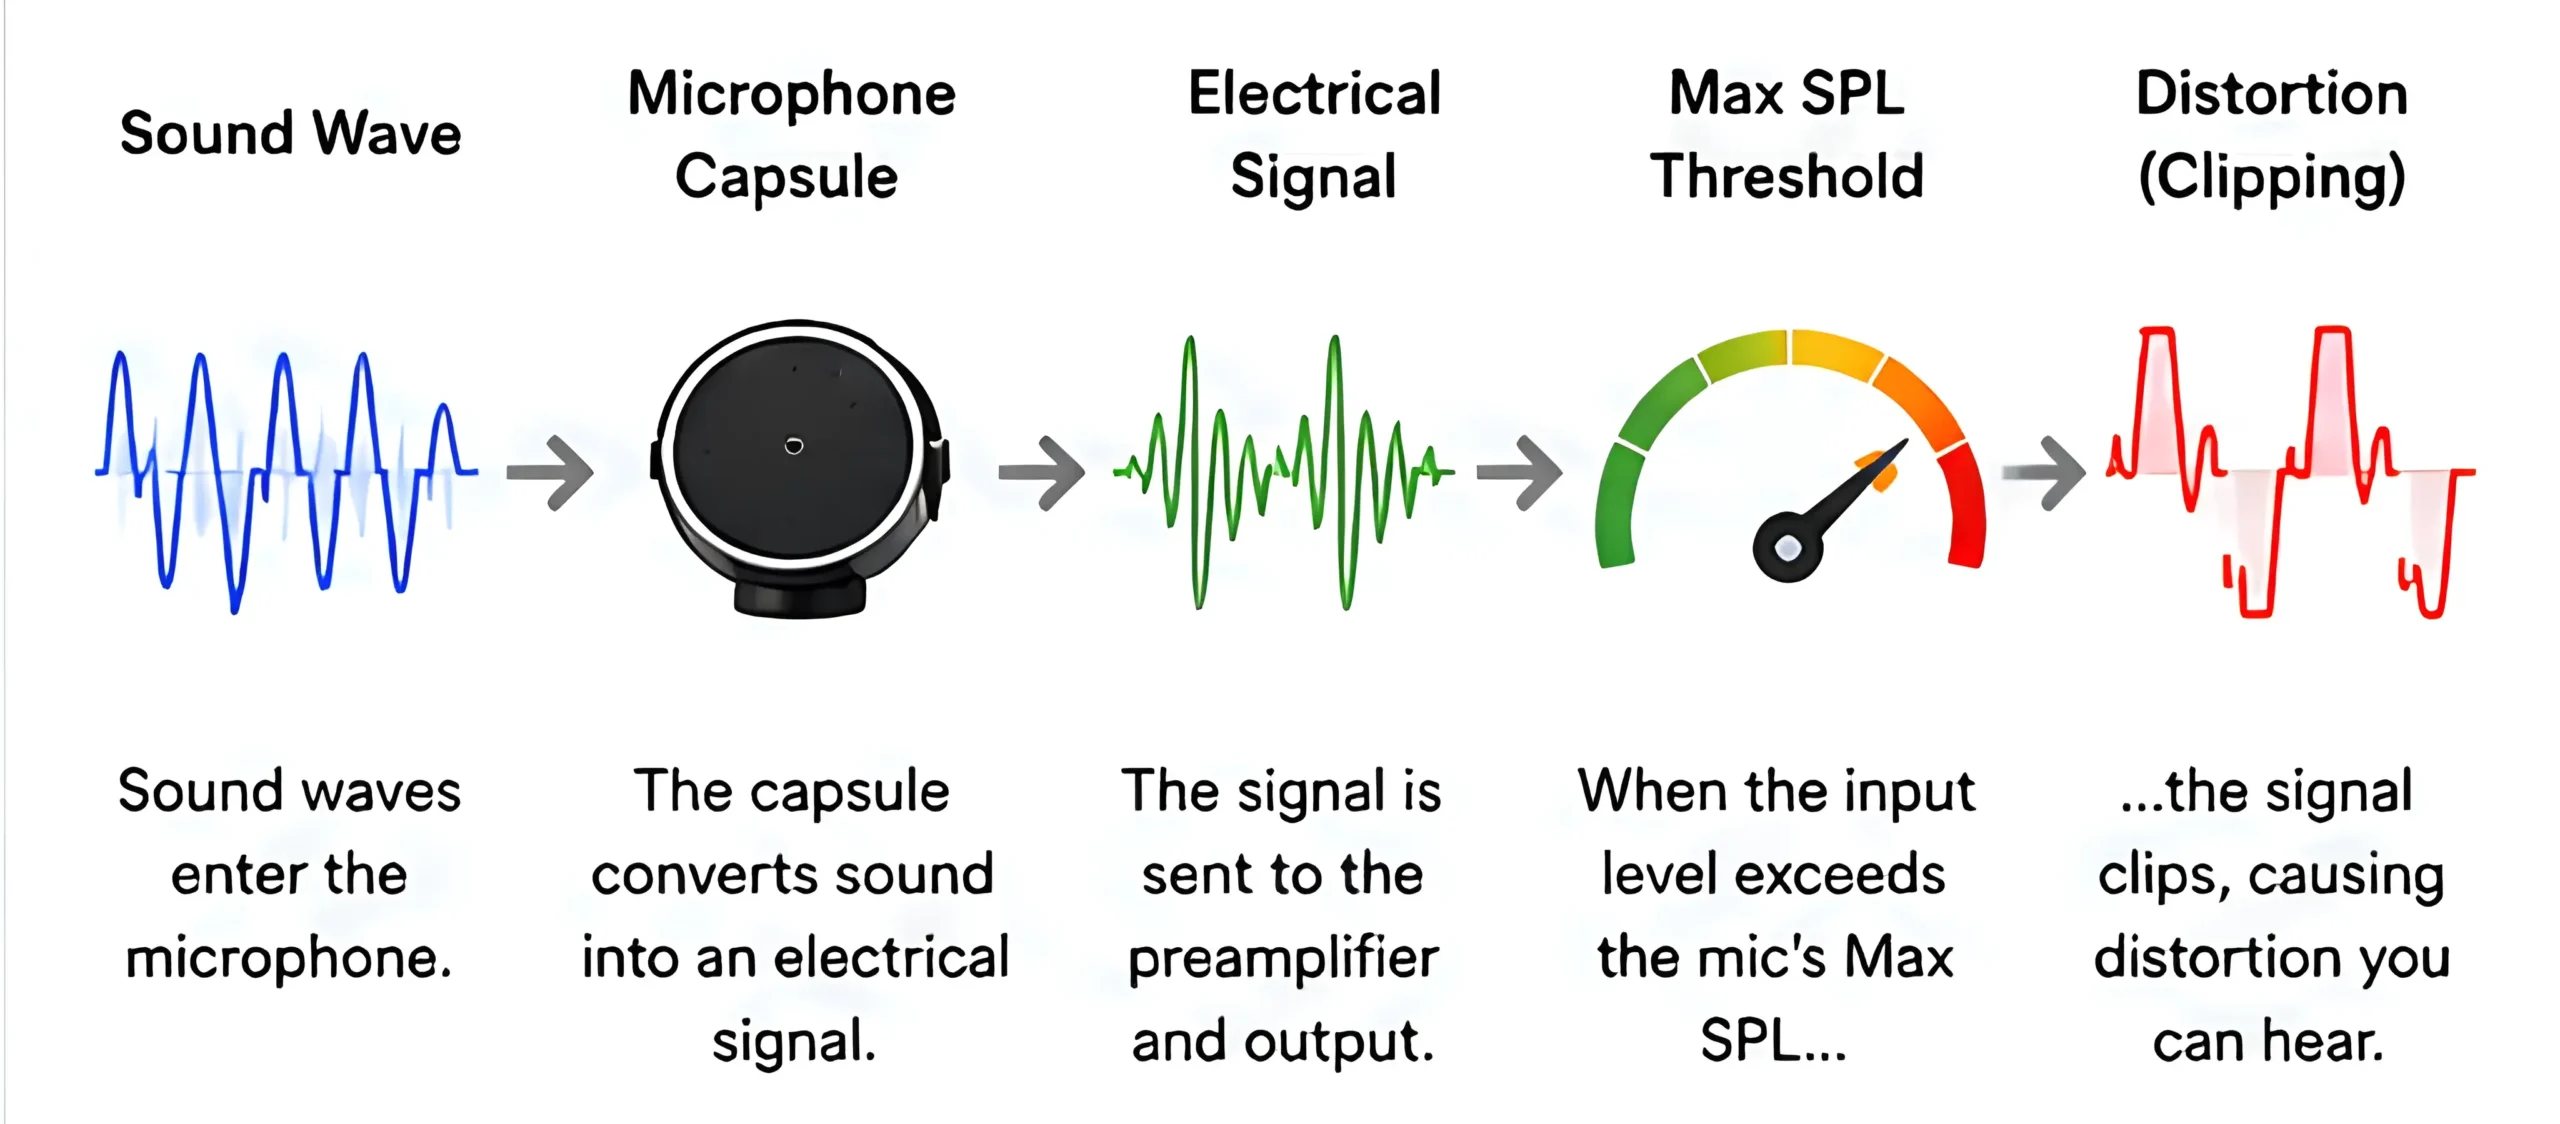
This one is physical. Every microphone has a Max SPL — the loudest sound pressure level it can handle before distortion becomes noticeable.
The higher a mic’s Max SPL, the more headroom you have before the capsule gives out. The FIFINE AM8, for example, handles up to 120 dB SPL, which comfortably covers loud, animated speech, energetic streaming, and most vocal performances.
If the input signal exceeds that limit, the diaphragm simply can’t track the sound cleanly. That’s how the mic’s physical limits cause the microphone distortion.
What Causes Microphone Distortion?
Wondering why your microphone distorted? These are the usual culprits.
#1: Gain is set too high.
This is the number one cause. Your gain or level is cranked, the signal hits the ceiling, and it clips. Simple as that.
#2: You’re too close to the microphone.
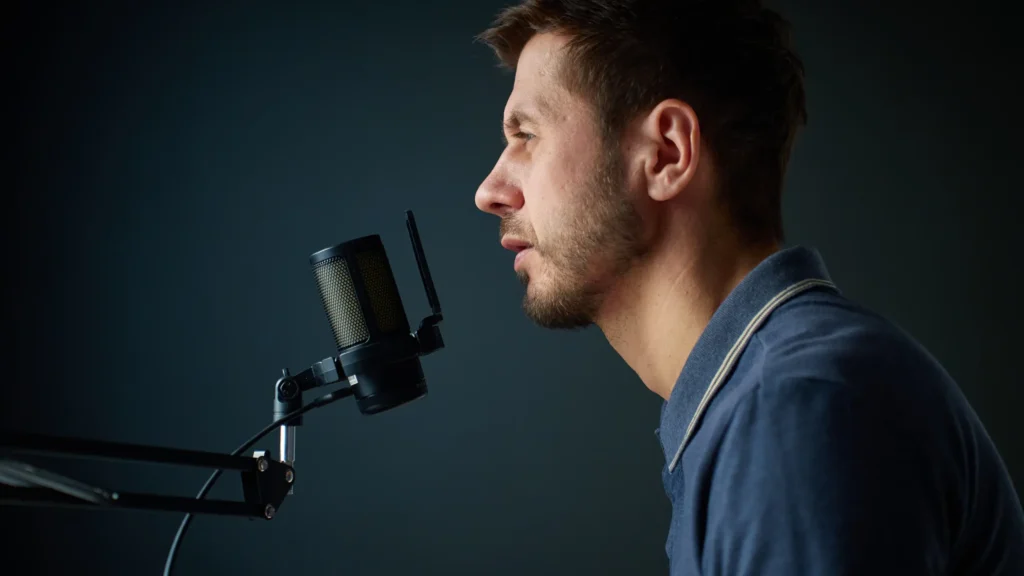
Get right on top of the capsule, and you flood it with sound pressure, which spikes your levels and pushes you into clipping, even if your gain looks reasonable.
#3: The audio interface is overloading.
When an XLR mic runs through a preamp or interface, the preamp does the heavy lifting of raising your mic signal to a usable level. Turn it up too far, and it distorts before the audio ever reaches your computer. That’s why preamps will be the primary cause of mic distortion.
Podcast educator Chris has experience with distortion in a location-sound podcast. For the noticeable distortion, the sound person pulled down the fader on that channel, which lowered the volume but did nothing for the distortion.
Because the Distortion wasn’t happening on the fader, it was happening before that on the preamp
@PodcastEngineeringSchool from YouTube
The actual fix was to turn down the preamp, then push the fader back up if more level was needed. Lower the fader, and all you get is quieter distortion.
#4: The sound source is too loud.
A normal speaking voice and a loud, excited burst are very different signals. If you set your level while talking quietly and then get animated, those peaks can blow past your headroom and clip.
#5: Poor USB power or connection.
A flaky cable, an underpowered USB port, or a cheap hub can introduce dropouts and artifacts that sound like distortion. Plug directly into your computer when you can.
How to Fix Microphone Distortion
Good news: distortion is one of the most fixable problems in audio. Here’s how to clear it up and keep it gone.
#1: Lower input gain
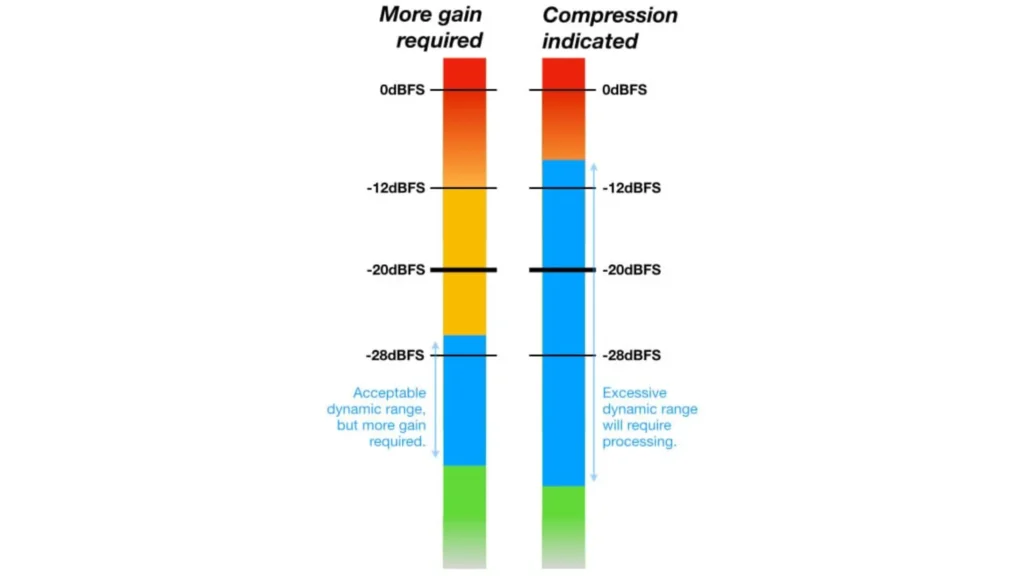
This is your first move. Watch the meter in your recording or streaming software and set your level so you’re peaking between -20 and -12 dB. Don’t chase a specific percentage or dial position. The right setting changes from mic to mic and voice to voice, so let the meter tell you the truth.
- USB mic with no gain dial: adjust the level in your operating system’s audio settings while watching your meters.
- USB mic with a gain dial: first set the OS level to unity (0 dB, no boost or cut), then turn the physical dial down until you land in the target range.
- XLR mic through an interface: confirm the OS input is at unity, then slowly raise the interface gain until you peak between -20 and -12 dB.
#2: Put the mic properly
Put your mic to your mouth about 2-6 inches. A little space between you and the capsule keeps loud moments from overwhelming the mic.
#3: Use a pop filter or foam cover
A pop filter or foam cover can soften the blasts of air from plosive sounds, your p’s and b’s, that spike your levels and add harshness.
#4: Enable a limiter
A limiter works like a brick wall. You set a threshold, say -1 dB, and the limiter refuses to let your signal cross it. Get loud and excited, and the limiter catches the peak before it clips. This is your safety net for those unpredictable loud moments.
#5: Reduce EQ boosts
Stacking big EQ boosts can shove your signal right back into the red. Cut more, boost less, and you’ll keep your levels under control.
#6: Check sample rate settings
Mismatched sample rates between your interface, your OS, and your software can introduce glitches and artifacts. Set everything to the same rate.
#7: Monitor your levels
The single most useful habit in audio is watching your meters while you record. Most distortion gets caught before it ever happens, simply because someone was looking at the meter.
Once your signal is clean, you can add a touch of digital gain to bring up a quiet recording, then layer in a compressor to even out the gap between loud and quiet passages. A solid starting point for the compressor: a 4:1 ratio, a -10 dB threshold, a 10 ms attack, and a 60 ms release. It’s optional, but it makes for a smoother listen.
Microphone Distortion vs Background Noise
These two get lumped together, but they’re different problems with different fixes.
| Distortion | Noise |
|---|---|
| Signal overload | Unwanted sound |
| Crackling, clipping | Fan, keyboard, AC |
| Usually on louder passages | Can occur anytime |
Distortion is your own signal breaking because it’s too hot. Background noise in your microphone is extra sound — a fan, a keyboard, an air conditioner — sneaking into the recording. If the problem flares up only when you get loud, it’s distortion. If a constant hum or hiss is sitting under everything, that’s noise.
Can a Better Microphone Prevent Distortion?
The short answer is: sometimes, but not entirely. A better microphone won’t completely prevent distortion, but it can make clean recordings easier to achieve.
Most distortion comes from improper gain settings or excessively loud input levels. However, microphones designed for voice recording can provide more headroom and maintain clarity when handling energetic speech, streaming, or podcasting.
For example, dynamic microphones like the FIFINE AM8 microphone and FIFINE K688 mic are built for close-range vocal capture and can handle sudden volume changes more comfortably than highly sensitive microphones in many recording situations.
That said, proper gain staging, microphone placement, and monitoring remain the most effective ways to prevent distortion.
Final Thoughts
Microphone distortion feels like a hardware failure, but it’s almost always a setup issue you can fix in minutes. Know your signal flow, set your gain so you peak between -20 and -12 dB, add a limiter to catch the loud moments, and keep an eye on your meters. Do that, and you’ll pull clean, clear audio out of just about any mic.
FAQs
Why does my mic distort only when I get loud?
Your level is set too high for your peaks. It sounds fine at a normal volume, but loud moments blow past the ceiling and clip. Lower your gain and add a limiter.
Can I remove distortion in editing?
No. Once distortion is written into the recording — whether from clipping the converter or a signal that ran too hot — it’s permanent. You have to prevent it at the source.
Why doesn’t turning down the volume fix the distortion?
If the distortion happens at the preamp or input gain, lowering a fader or output afterward just makes the distortion quieter. Turn the gain down at the exact point where the overload happens.
Do I need an expensive microphone to avoid distortion?
No. A cheap mic set up correctly sounds clean, and an expensive mic set up wrong still distorts. Sort out your gain and signal flow first.
What’s the ideal recording level?
Aim to peak between -20 and -12 dB on your meter. That gives you clean audio with enough headroom for the louder moments.
