A Guide for Vlogging with Phones: Filming, Sound, and Editing
A vlog is a video diary — a day-in-the-life, a travel recap, a cooking montage, or a talking-head session. The format is flexible. The phone in your pocket shoots 4K video, connects to wireless microphones, and fits in a setup you can carry in one hand. Several creators have built entire YouTube channels filming exclusively on iPhones — some for four or more years.
Why choose your phone? The easier you make vlogging for yourself, the more consistently you’ll film. After this guide, you’ll configure vlogging with phones, from shooting to editing. Finally, export a finished video ready for YouTube or social media.
Step 1: Dial in Your Camera Settings
Open your phone’s camera settings and set recording to 4K at 30 frames per second. On iPhone, go to Settings > Camera > Record Video and select 4K at 30 fps. Then navigate to Formats and select Most Compatible. Turn off Auto FPS and HDR video. For slow-motion like pouring coffee or food shots and walking, turning, or lifestyle moments, set slo-mo to 1080p at 120 fps.
Why Choose 4K at 30f fps?
It’s the most balanced and widely used setup for YouTube and social media. This gives you a sharp, modern-looking video, a natural motion, and flexibility for editing.
iPhone Video Settings Explained (e.g. iphone15 pro max)
| Setting | What It Means | Visual Result | Best For | Trade-offs |
| 720p / 30fps | Low resolution, standard frame rate | Not needed in the US | Long recordings, minimal storage use | Outdated quality |
| 1080p / 25fps (PAL) | Full HD, lower frame rate | Slightly cinematic | PAL regions (Europe) | Not ideal for North America |
| 1080p / 30fps | Full HD, standard frame rate | Natural and balanced | Beginner vlogs, daily use | Less sharp than 4K |
| 1080p / 60fps | Full HD, high frame rate | Very smooth motion | Sports, movement shots | Larger file size |
| 4K / 24fps | Ultra HD, cinematic frame rate | Film-like motion | Storytelling, interviews | Less smooth motion |
| 4K / 25fps (PAL) | Ultra HD, regional standard | Similar to 24fps | PAL regions only | Not needed in US |
| 4K / 30fps | Ultra HD, balanced frame rate | Sharp and natural | ✅ Best overall for vlogging | Uses more storage |
| 4K / 60fps (High Efficiency) | Ultra HD, very smooth motion | Super fluid and crisp | Action shots, travel footage | Large files, HEVC format |
Pro tips
- Use the rear-facing camera and switch to the 0.5x wide-angle lens for a wider field of view that captures you and the scene behind you.
- Avoid 4K at 60 fps on iPhone unless you edit in Final Cut Pro. The high efficiency codec causes audio drops and playback glitches in Premiere Pro and DaVinci Resolve. Transcoding to fix this can take 10+ hours.
- Cinematic mode adds artificial depth of field — useful for talking-head shots, but skip it for action or scenery.
Step 2: Work With Natural Light
Lighting is the biggest factor in whether footage looks professional or amateurish — and you don’t need any gear to get it right.
@Rena Gao shares her tips on YouTube, “As long as you have light on your face, I think that’s the best. If the background is too bright behind you, it’s going to compete with your face.” Face a window when filming indoors. Position yourself so light hits your face from the front or slightly to the side. If the window is behind you, your face goes dark, and the background blows out.

Pro tips
- Morning light is softer and more flattering than harsh afternoon sun. If the side light creates strong shadows, move further from the window to soften it.
- Test before recording. Walk closer to the window, sit at different angles, and pick the position that looks most natural on screen.
- Outdoors, shoot during golden hour or on overcast days — clouds act as a giant natural diffuser.
Step 3: Upgrade Your Audio
Viewers tolerate imperfect video. They won’t tolerate bad audio. Muffled, echoey, or wind-blasted sound makes a clip unwatchable.
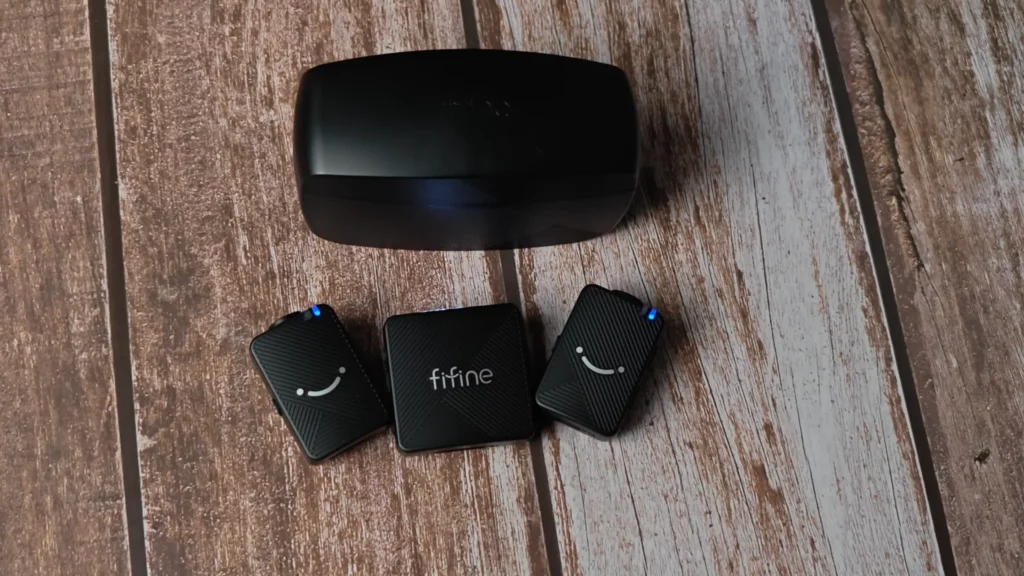
Invest in an external wireless microphone that plugs into your phone. Lavalier (clip-on) mics like those from DJI connect via your phone’s charging port and record backup audio internally — so you never lose a take. For the budget choice, the FIFINE M9 wireless microphone would be a better choice.
Pro tips
- On a zero budget: Use the Voice Memos app for voiceovers. Record in a closet or small room with soft surfaces to reduce echo. Hold the phone 6–8 inches from your mouth to avoid harsh mouth sounds.
- Clip the mic to your shirt or magnet it behind your collar for invisible placement. Wireless mics let you walk far from the phone while still capturing clear dialogue.
- Do a quick audio check before each segment. Play it back. If you hear wind or echo, adjust before rolling.
Step 4: Pick the Right Accessories and Stabilize Your Shots
Shaky handheld footage is the biggest giveaway of phone-shot video. A couple of affordable accessories solve this — and keep your setup simple.
If you buy one thing, make it a compact extendable tripod (around $30). These fold down to selfie-stick size, telescope up for stable shots, and most come with a Bluetooth remote. For stationary shots, use the tripod. For moving shots, a gimbal or steady two-handed grip will be better.

Pro tips
- A portable fast-charging battery bank solves all-day filming. Get back to full in ~30 minutes and film while plugged in.
- A phone gimbal (like DJI Osmo Mobile) adds smooth movement and subject tracking. Some double as tripods.
- Walk slowly with a gimbal. Fast movements create motion blur.
- Record before walking into frame and after exiting — clean edit points every time.
- You don’t need the newest phone. The iPhone 12 and iPhone XR still produce polished vlogs.
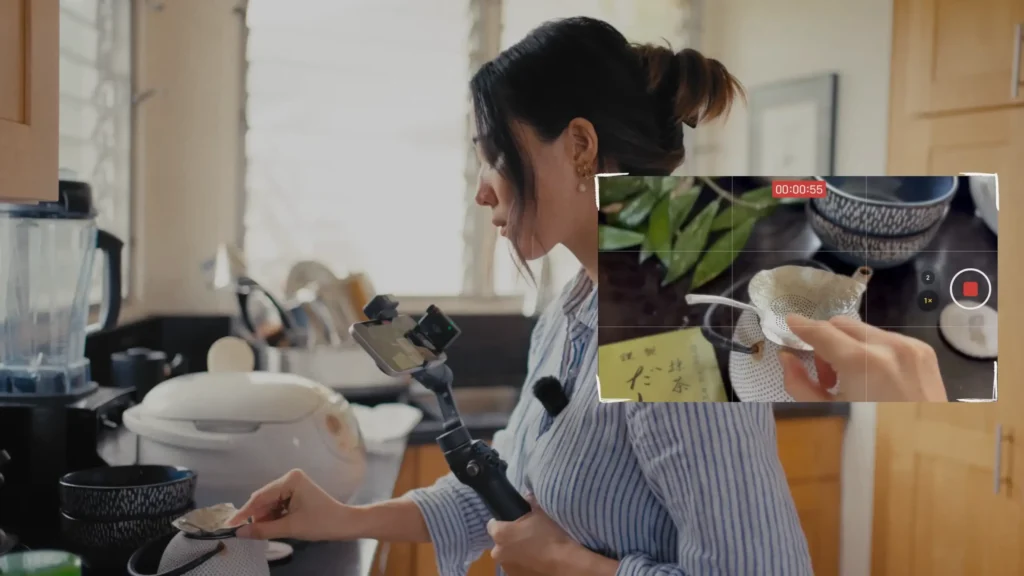
Step 5: Shoot More B-Roll Than You Think You Need
B-roll — supplementary shots of your surroundings, hands in action, or scenery — makes a vlog feel like a story rather than a talking selfie.
If your A-roll is you talking to the camera, then B-roll is everything that visually shows what you’re talking about. So, we recommend shooting at least 3-5 short B-roll clips for every segment, like pouring coffee, feet on pavement, and a window view.
Types of B-Roll You Should Know
| Type | What It Looks Like | When to Use |
| Establishing Shots | Wide shots (street, room, city) | Start of a scene |
| Detail Shots | Close-ups (hands, objects) | Add texture and realism |
| Action Shots | Walking, opening, pouring | Show movement |
| Cutaways | Anything that breaks the main shot | Hide jump cuts |
| Over-the-Shoulder | POV-style framing | Add immersion |
Pro tips
- Vary your angles: wide, medium, and tight shots of the same scene give you options.
- Film “walking in” and “walking out” of locations for natural transitions.
- When in doubt, shoot it. You can delete extra footage, but you can’t recreate a missed moment.
Step 6: Transfer and Organize Your Footage
Phone storage fills up fast when filming 4K. A clean transfer-and-delete workflow prevents headaches.
Connect your phone to your computer and transfer clips directly. On Mac, use Image Capture. “You can plug your phone directly into your laptop and then just hit the search key and look up image capture. Your phone will show up as one of the devices on the left, and then you can really easily select and just click and drag your video clips into the folder of your choice”, shares @Katie Steckly.
On Windows, plug in via USB, open File Explorer, navigate to DCIM, and drag files over.
Pro tips
- Delete clips from your phone immediately after transfer. Storage management is the hidden cost of phone vlogging.
- Batch-rename files with date stamps. On Mac, Automator can add creation dates to filenames, keeping everything chronological across devices.
- Create a folder structure by project or date before importing.
Step 7: Build a Skeleton Timeline
Editing without a plan leads to hours of aimless scrubbing. A skeleton timeline gives you structure.
Import clips into your editor. Cut talking segments to the best parts and lay them in order. Then layer B-roll on top for transitions and visual variety.
Pro tips
- Edit in chunks. If your vlog covers multiple days, edit each segment separately, then stitch them together.
- DaVinci Resolve is free and handles cutting, color grading, and audio — ideal for beginners with room to grow.
- Start simple. Clean cuts first. Transitions and graphics later.
Step 8: Add Music, Sound Effects, and Graphics
Music sets the emotional tone. Sound effects smooth transitions. Simple text overlays communicate key info. Together, these layers transform raw clips into something people want to watch.
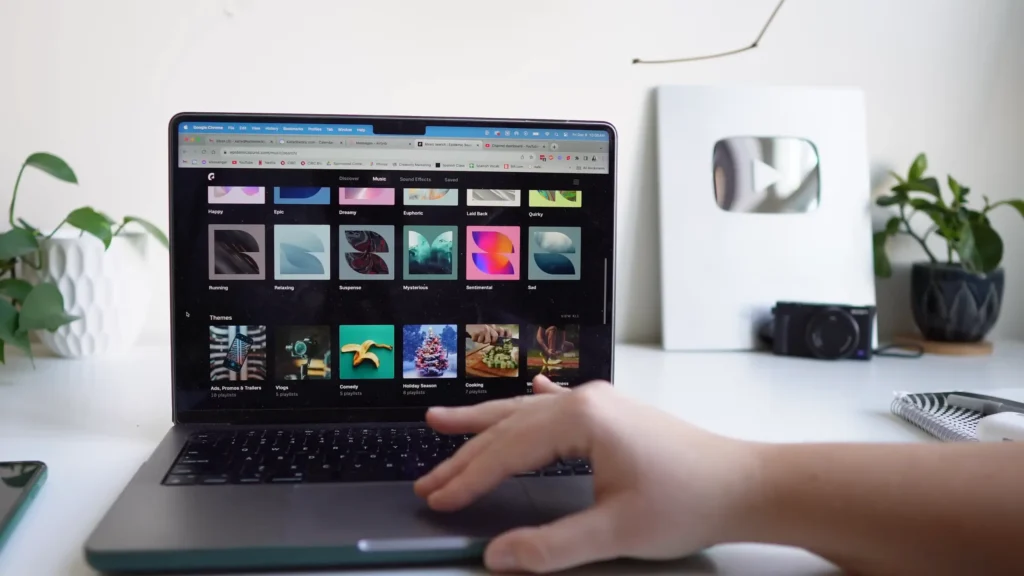
Add music after building your skeleton timeline. This lets you choose tracks that match the mood of what you’ve assembled. Use royalty-free music libraries like Epidemic Sound if you plan to monetize on YouTube.
Pro tips
- Keep voice-over audio between -5 and -10 dB. Music should sit at -10 to -15 dB when there’s no voice-over, and -15 to -20 dB underneath dialogue. Sound effects live around -15 dB. Fine-tune by ear with neutral headphones.
- Use a compressor on your voice audio to even out volume — it brings quiet parts up and loud parts down for a polished, consistent sound.
- Canva works well for text graphics and thumbnail overlays. Export with a transparent background and drop them into your timeline.
Step 9: Export With the Right Settings
A bad export undoes all your work — washed-out colors, bloated files, or playback issues on upload.
Export using the H.264 codec in a QuickTime or MP4 container. For 4K timelines, set bitrate to around 60,000 kbps. For 1080p, use 30,000 kbps. Keep the data level set to “Video” (not “Full”) so exported colors match your editing screen.
H.264 vs H.265 (HEVC): Which Should You Choose?
| Codec | Pros | Cons | When to Use |
| H.264 | Best compatibility | Larger file size | Safest choice (especially for beginners) |
| H.265 (HEVC) | Smaller files, better compression | Not supported everywhere | Advanced users / iPhone workflow |
If you’re editing on Mac/iPhone, HEVC works great.
If you’re unsure, stick with H.264.
Pro tips
- Make sure your export resolution matches your timeline. If you filmed in 4K, export in 4K.
- Burn in subtitles if your editor supports it. Captions boost engagement, especially on platforms where viewers scroll with sound off.
- Watch the first 30 seconds of your export before uploading to catch audio sync issues or color shifts.
Final Verdict on Vlogging with Phones
You now have a complete, repeatable workflow for creating vlogs with your phone. No expensive camera required.
Vlogging with phones doesn’t need complex steps and expensive equipment. Set the camera well, consider the light, shoot the video, and edit more to film better. Just start and reps.
So, start your first vlog now. And if you’re ready to level up your audio, check out our guide to choosing the right microphone for content creators.
FAQs
Can I vlog with an older phone?
Yes. Creators have produced quality content on phones as old as the iPhone XR. If your phone shoots at least 1080p, it’s capable. Upgrade when you’re ready, but don’t wait to start.
Do I really need an external microphone?
For talking-heavy vlogs, yes. Your phone’s built-in mic picks up everything around you, which falls apart outdoors or in noisy spaces. Even a budget wireless lav mic dramatically improves clarity. On a zero budget, use the Voice Memos app in a quiet room for voiceovers.
Should I film in 4K or 1080p?
Film main footage in 4K for the sharpest image and the most flexibility in post. Use 1080p at 120 fps only for slow-motion clips.
What’s the best free video editing software for beginners?
DaVinci Resolve. It’s free, runs on Mac and Windows, and covers cutting, color grading, and audio mixing. On mobile, iMovie, InShot, and CapCut are solid starting points.
How do I stop my footage from looking “phone-y”?
Three things: stabilization (tripod or gimbal), lighting (face a window or shoot in soft light), and audio (external mic). Nail these, and most viewers won’t know you skipped the dedicated camera.