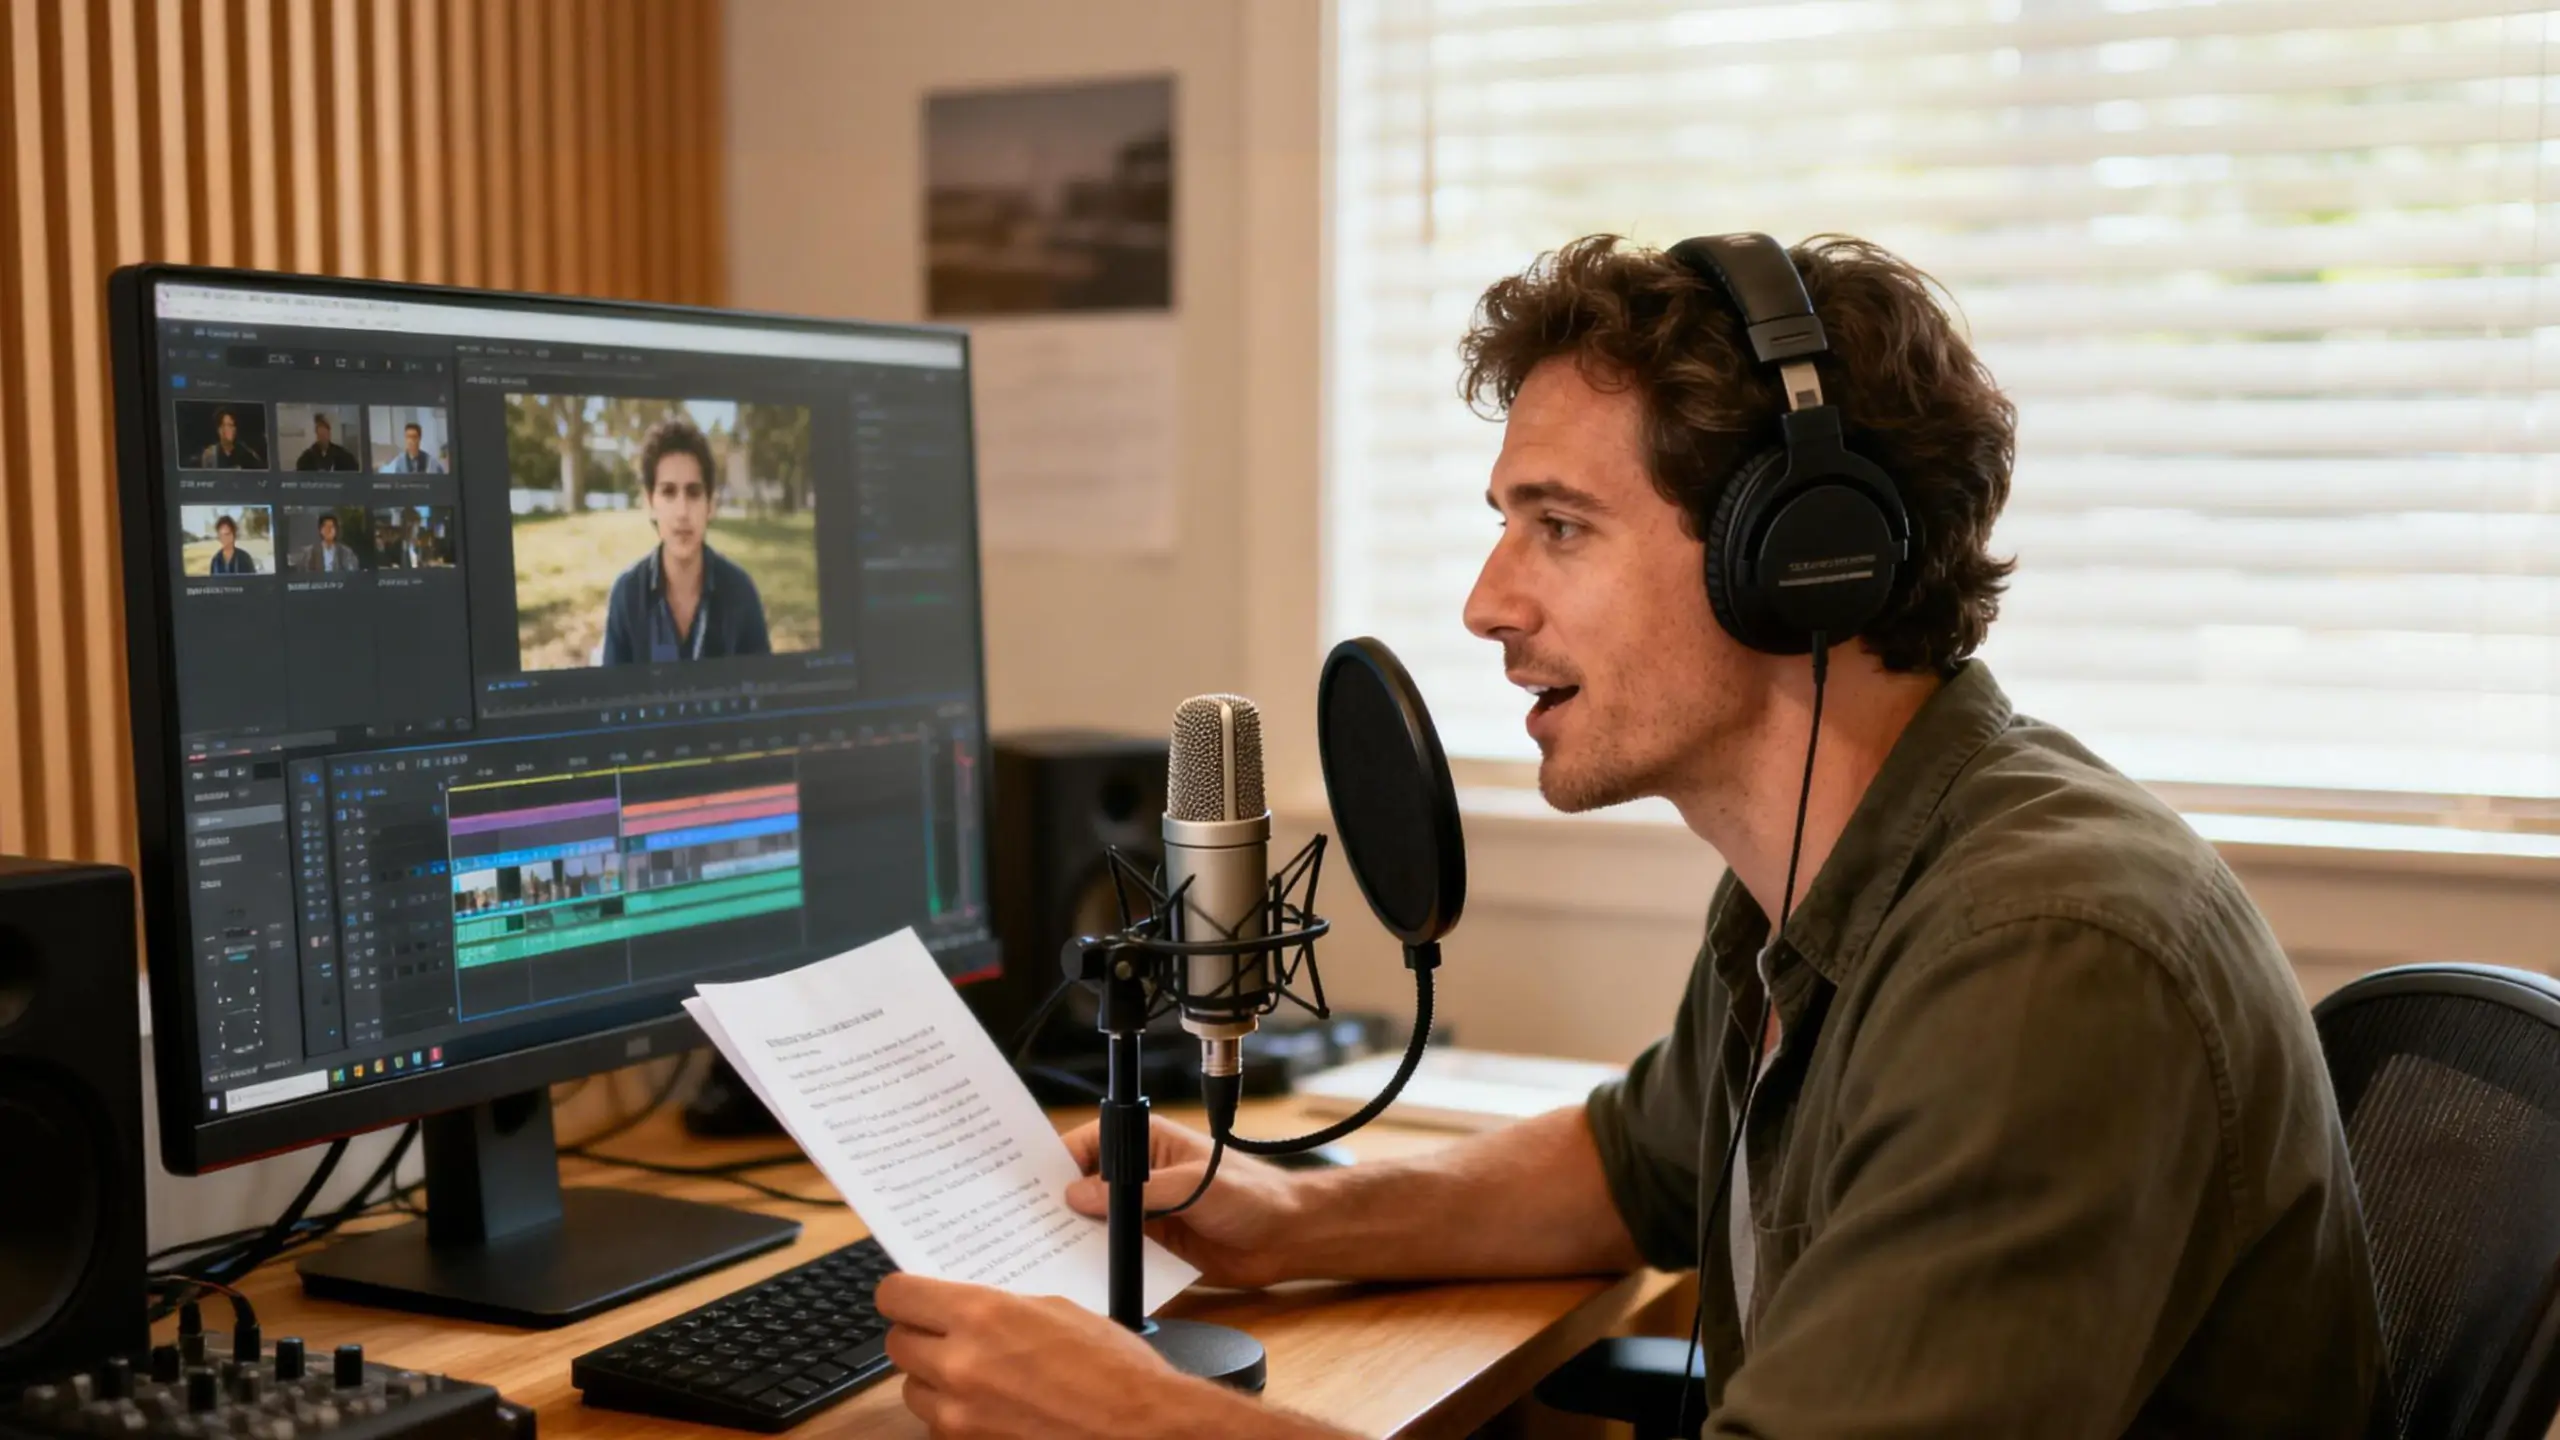
10 Steps for How to Do a Voice Over: A Beginner’s Guide
Voice-over work has never been more accessible—or more in demand. Think about video games, audiobooks, and the video over for your YouTube and TikTok content. How to do a voice over? A decent microphone, a quiet space, and the willingness to learn.
But most beginners obsess over gear before understanding the fundamentals. The gear matters, but it’s secondary to your ability to deliver a script naturally and connect with your audience. In this guide, we’re talking about 10 essential steps for voice-over. From audio equipment and body preparation, there are some skills that you can’t miss.
Step 1: Assess Your Personal Strengths
Not everyone who has “a nice voice” becomes a successful voice-over artist. As voice actor Brizzy puts it, the most important thing in your arsenal is “acting skills”—not the booth, not the microphone.
Honestly evaluate whether you have—or can develop—these core competencies: clear articulation regardless of accent, excellent sight-reading ability, natural delivery that doesn’t sound scripted, stamina for long recording sessions, and the ability to take direction and criticism constructively.
Voiceover Masterclass in his YouTube video emphasizes that you need to “speak in a natural manner and interpret the empathy of the message and not just talk as if you’re just reading words off a script.” This interpretive skill separates working professionals from hobbyists.
Pro tips:
- Work on vocal flexibility. Always a pleasant voice might feel a little bored. Can you shift between enthusiastic, somber, authoritative, and casual tones quickly?
- Record yourself reading various script styles (commercial, narrative, technical) and listen back critically
- Practice sight-reading news articles or book passages daily to improve cold-read accuracy
Step 2: Build a Functional Home Recording Space
Your environment shapes your sound quality more than your gear. Even the most expensive microphone will capture every echo, hum, and ambient noise in a poorly treated room.
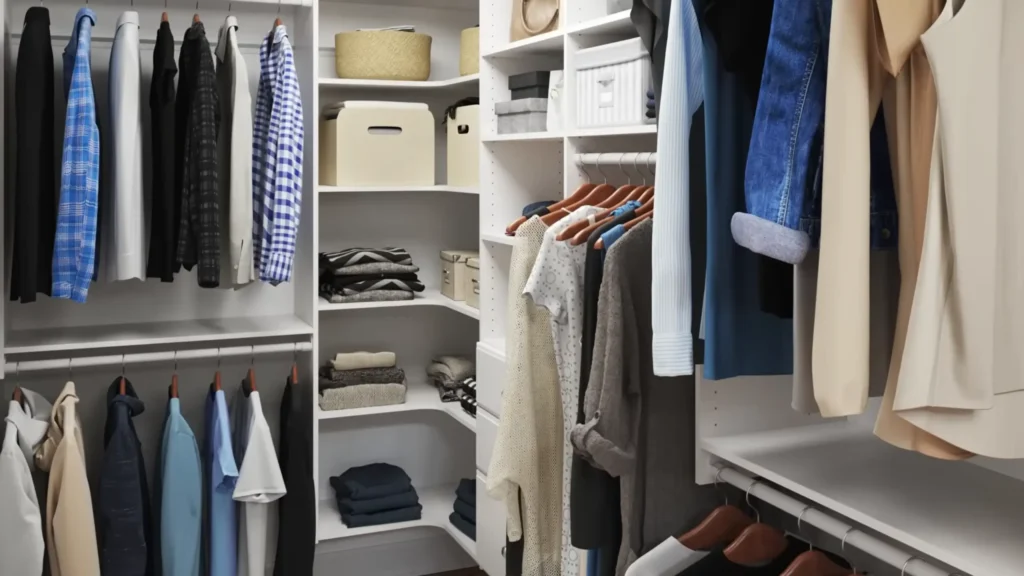
Find the quietest, smallest space in your home. Youtuber Philip Lemoine shares his easiest method to avoid reverb is “recording in the closets”. Your goal is to create a space that sounds “acoustically dead” when you clap your hands in it.
I think two of the easiest ways to avoid Reverb is if you record your audio straight up inside your closet with all your clothes, or you can legit just throw a whole ass blanket over your head and microphone and do it that way as well.
Philip Lemoine on YouTube
If a closet isn’t practical, you can enhance your audio clarity with the Adobe Audio Enhance. AI analyzes and enhances your voice, and it does an excellent job of eliminating noise and reverberation.
Pro tips:
- The areas directly behind and to the side of your microphone need the most treatment
- Acoustic foam panels (like Auralex) run about $155 for a 24-pack—use Command strips, not adhesive spray, to avoid ruining your walls
- Blanket forts actually work: drape heavy blankets over furniture or PVC pipe frames for a DIY vocal booth
- Keep your computer’s fans and hard drive noise away from your mic—place it in a vented cupboard or use a long USB cable to create distance
Note: Foam reduces internal reflections and reverb; it doesn’t block external noise like traffic or neighbors.
Step 3: Choose the Right Microphone
Now we come to what you may care about most. Your microphone is how the world hears your voice. But more expensive doesn’t automatically mean better for your situation. For some beginner, they can do a good voice-over with their phones. So, the best mic is one that fits your budget, skill level, and use case
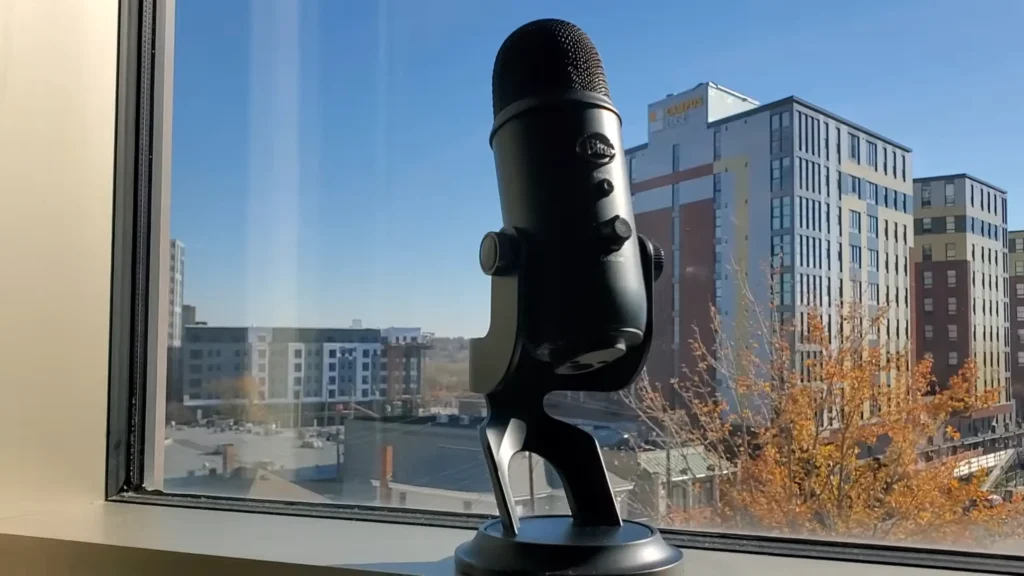
Beginner level ($50-$130):
The Blue Snowball Ice ($50) or Blue Yeti ($130) are solid USB mics that plug directly into your computer. Voice actor Brizzy started her career recording in a Brooklyn closet with a Blue Snowball—and booked paid work with it. USB mics have a slight background hiss, but noise removal filters handle that easily.
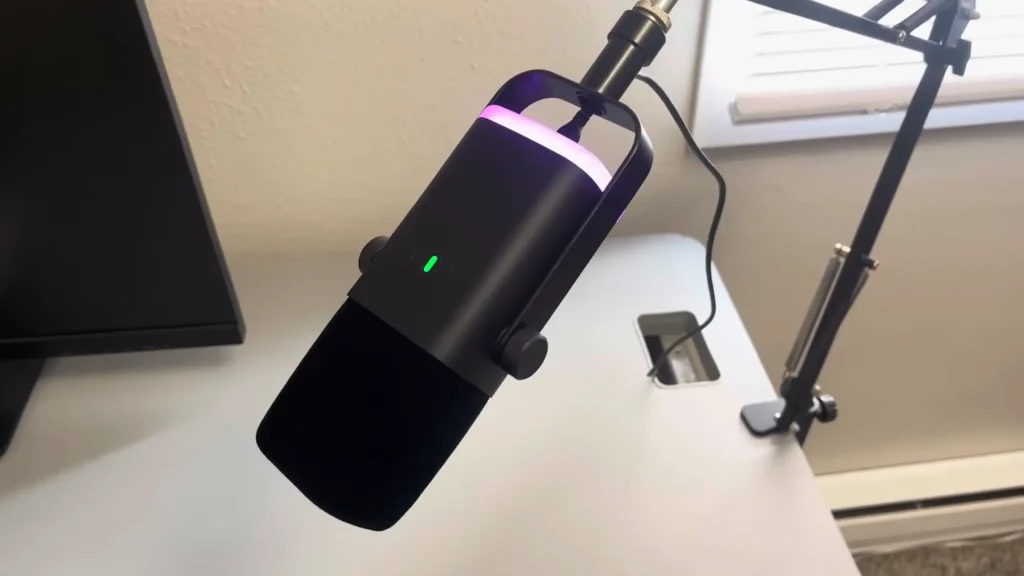
Budget level ($50-$90)
Want entry-level prices but not at the expense of sound quality? Check out FIFINE. The FIFINE AM8 ($55) offers dual USB/XLR connectivity for more flexibility. The mute button and gain control even take everything under your control. The FIFINE Tank3 ($90) steps up with all-metal construction and a neutral frequency response ideal for voice-over work.
Intermediate level ($200-$360)
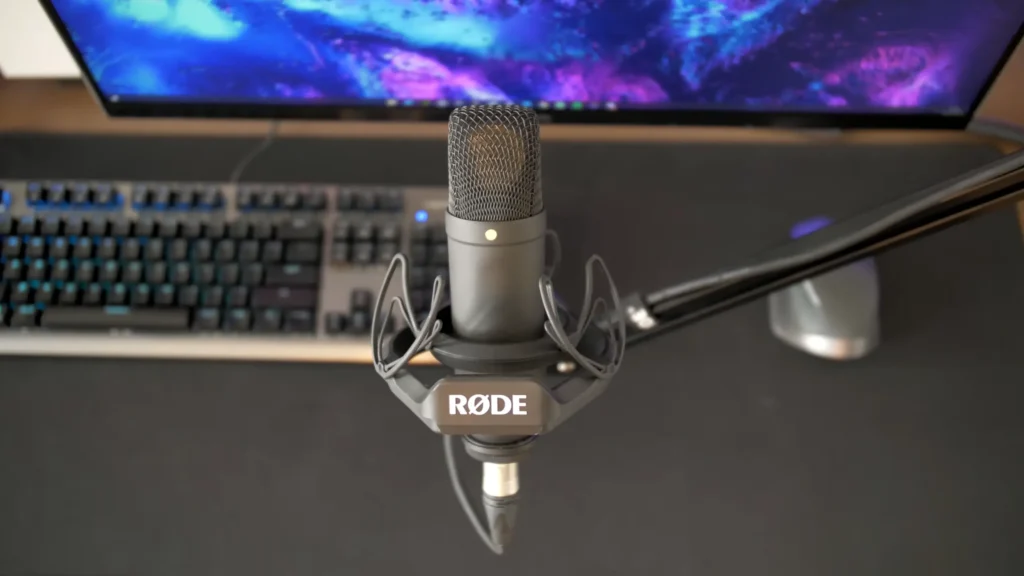
When you’re booking regular auditions, consider an XLR microphone like the Rode NT1 ($270) or AKG C214 ($360). These require an audio interface (an additional purchase) but deliver clearer sound with less background noise.
Professional level ($1,000+)
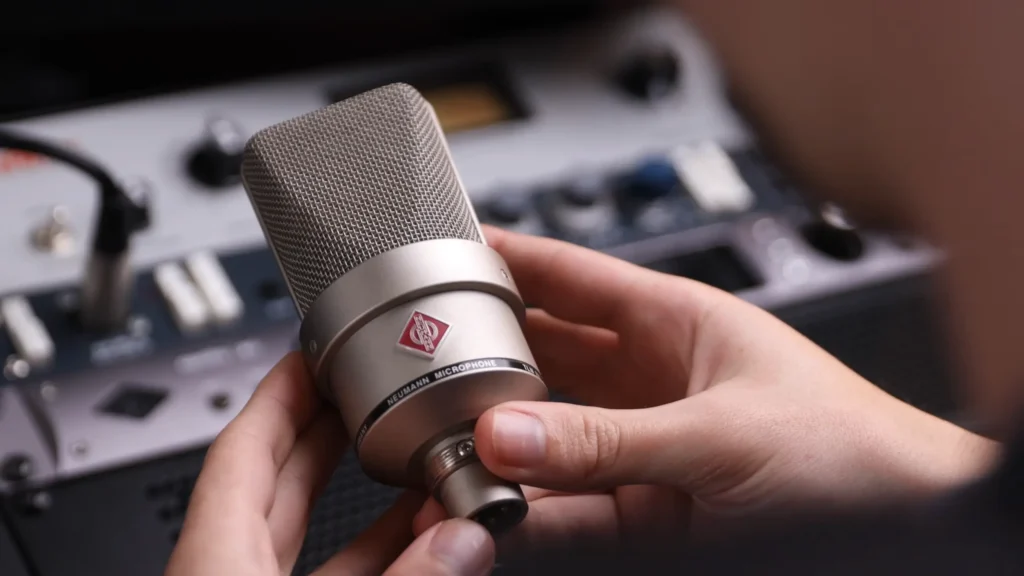
The Neumann TLM103 ($1,195) is the go-to for broadcast-quality home studios. This is the standard professional studios expect.
Pro tips:
- For content creators doubling voice-over with on-camera work, consider wireless systems from Rode, DJI, or Godox that serve multiple purposes
- The Rode VideoMic Go II ($100) can plug into computers via USB-C for voice-over work, making it versatile for travel
- Always use a pop filter with any microphone—basic ones cost $10-$25 and prevent plosive sounds from damaging your audio
Step 4: Prepare Your Voice and Body
Your voice is your instrument. Walking into a session cold—with a dry throat, heavy tongue, or fatigued vocal cords—guarantees subpar results.
Record at optimal times when your voice is rested. YouTuber Stephanie Anene finds early morning (right after waking) or late night (when everything is quiet) works best. Your vocal cords are rested from sleep, and environmental noise is minimal.
When you wake up from sleep, your vocal cords are rested. You haven’t been talking or shouting. Your voice is rested.
2 a.m., and 1 a.m is the best time to record your voiceover, and it gives you that peace of mind. You just feel this tranquility and peace when you’re recording, which helps you bring out the best in your voice, and you’ll be at your best.
Stephanie Anene on YouTube
Pro tips:
- Hydrate consistently—drink water before, during breaks, and after recording sessions to prevent mouth clicks and sticky sounds
- Brush your teeth (without toothpaste) before morning sessions to activate your tongue without increasing saliva production
- Do vocal warm-ups: tongue twisters, humming scales, lip trills. These prepare your articulators for precise pronunciation
- Avoid dairy products before recording—they increase mucus production
Step 5: Write a Script That Sounds Natural
A script that reads well on paper often sounds robotic when spoken. The best voice-over scripts are written for the ear, not the eye.
“When you start, just make up a script. It doesn’t matter; the client will be listening to your voice quality and how you deliver the scripts.” Voiceover Masterclass shares on YouTube. Write like you’re explaining something to a friend, not composing an essay. Use contractions, sentence fragments, and conversational phrasing. Then read it aloud and revise anything that feels awkward.
For video content, watch your footage first, then write the voice-over to match what viewers see. As one creator explains: “I basically just type out what I’m going to say based on what I see in my video and what actually happened. When I write it out, I’m able to give a lot of information more clearly and in as few words as possible.”
Pro tips:
- For short-form content (60-second videos), limit yourself to 10-12 sentences maximum
- Number your sentences when scripting short videos to keep track of length
- Write out difficult words phonetically in parentheses to avoid stumbles during recording
- Leave natural pause points marked in your script where you can breathe
- No freestyle without a script. Unless you’re exceptionally good at it.
Step 6: Master the Recording Process
A consistent recording workflow saves hours of editing time and produces better results.
Record your entire script in one continuous session. When you make a mistake, don’t stop—pause for a few seconds, then repeat the sentence from the beginning. The pause creates a visible gap in your audio timeline that’s easy to find and cut during editing.
Software like Adobe Premiere, Audacity, and CapCut allow you to record voice-overs directly onto your timeline. Mute any other audio tracks so you’re not distracted while reading.

Pro tips:
- Smile while recording—it genuinely makes your voice sound warmer and more engaging
- Record multiple takes of the same line at different energies or pitches, then choose the best during editing
- Position yourself 6-8 inches from the microphone (roughly a fist’s distance) and speak across it, not directly into it
- Use a dedicated microphone that lives at your recording station to reduce setup friction
A common mistake: Stopping and restarting for every flub. This fragments your audio into dozens of files and kills your vocal momentum. Don’t stop recording even if you mess up. Just repeat the content that you messed up and then continue with the rest of the script.
Step 7: Edit Your Audio for a Clean Finish
Go through your recording and remove all mistakes, false starts, and the pauses where you restarted sentences. What remains is your audio foundation.
Free software like Audacity handles everything most beginners need: cutting clips, normalizing volume levels, and removing background noise. More advanced options include Adobe Audition and Reaper.
Pro tips:
- Use the noise removal filter sparingly—heavy application makes the audio sound hollow and processed
- Normalize your audio to ensure consistent volume throughout
- Leave some breaths in for natural rhythm—removing every breath sounds robotic
- Adobe offers a free web tool that uses AI to enhance voice recordings and remove reverb
- Sometimes imperfection makes audio human, so don’t over-edit.
Step 8: Eliminate Common Audio Problems
Plosives (hard p, b, k sounds), reverb (room echo), and mouth clicks instantly mark audio as amateur. So, use a pop filter or windscreen on your microphone to reduce plosives. Record in a treated space to minimize reverb. Stay hydrated to prevent mouth clicks.
Pro tips:
- Record a test sentence with lots of P sounds: “Peter Piper picked a peck of pickled peppers“—listen for pops
- If you don’t have a treated space, record inside your closet, or throw a blanket over your head and microphone
- Software like Adobe’s AI tools can remove reverb from recordings, but capturing clean audio is always preferable to fixing problems in post
- Position the pop filter 2-3 inches from the microphone

Step 9: Market Yourself and Build Your Portfolio
The viewers decide how your video over behave. Even exceptional voice talent needs to be discoverable. Try to market yourself and build your channel like YouTube and TikTok.
Platforms like Fiverr offer excellent initial exposure through their SEO for voice-over keywords. Research successful profiles before creating your own—what makes them compelling? What can you offer that’s different?
Pro tips:
- Direct outreach works: make a list of production companies in your target niche (e-learning, video games, commercials) and contact them via email
- Don’t only target page-one Google results—dig deeper with tools like Million Short to find smaller companies that need voice talent and often pay faster
- Update your showreels regularly with actual paid work instead of practice scripts
- Include your time zone and availability on your website—clients work globally
Step 10: Invest in Continuous Improvement
Voice-over is a craft that deepens over time. The gear and skills that got you started won’t sustain a long career. Upgrade your equipment incrementally as you earn. Reinvest a portion of every paycheck into better microphones, acoustic treatment, or professional training.
Pro tips:
- Give yourself a meaningful goal to work toward—whether that’s a specific income milestone or dream equipment purchase
- Take acting classes, not just voice-over training—the foundation is performance
- Join voice-over communities to learn from working professionals and discover opportunities
Final Words on How to Do A Voice Over
You now have the complete roadmap to start recording voice-overs. The path from beginner to working voice artist is clear: build your skills, create your space, record consistently, and market relentlessly.
Guides don’t make voice-over artists. Your action does. The creators who succeed are the ones who press record every day—even when they’re not sure their setup is perfect, or their voice sounds “ready.” So, start with what you have. Listen back, cringe a little, then record it again better.
FAQs
Do I need an expensive microphone to start voice-over work?
No. USB microphones in the $50-$130 range (like the FIFINE AM8 or Blue Snowball Ice) are sufficient for practice, auditions, and even entry-level paid work. Upgrade when your skills justify the investment.
Which mic works better for voice over, USB or XLR?
USB microphones plug directly into your computer and work immediately—simple and budget-friendly. XLR microphones require a separate audio interface but produce cleaner sound with less background noise. Most beginners should start with USB and move to XLR when booking higher-paying work.
How do I reduce echo in my recordings?
Echo (reverb) comes from sound bouncing off hard surfaces. Soft materials absorb sound: hanging clothes, blankets, foam panels, and carpets all help. The classic budget solution is recording in a closet full of clothes or creating a blanket fort around your microphone.
What’s the best time of day to record voice-overs?
Early morning (immediately after waking) or late night works well for most people. Your vocal cords are rested from sleep, environmental noise is minimal, and you haven’t strained your voice talking throughout the day.
Can I do voice-over work using just my smartphone?
Yes, though with limitations. The headset that comes with your phone can work for basic recording, and apps like CapCut allow voice-over recording and editing on mobile. Many TikTok creators record directly into their phones. For professional work, dedicated equipment will eventually become necessary.
What software do I need for recording and editing?
Free options like Audacity (Mac and PC) handle everything beginners need. Professional options include Adobe Audition, Reaper, and Apple’s GarageBand. Don’t invest in expensive software until you’ve outgrown the free alternatives.